Top Water Damage Drywall Repair Tips: Restore Your Home Quickly
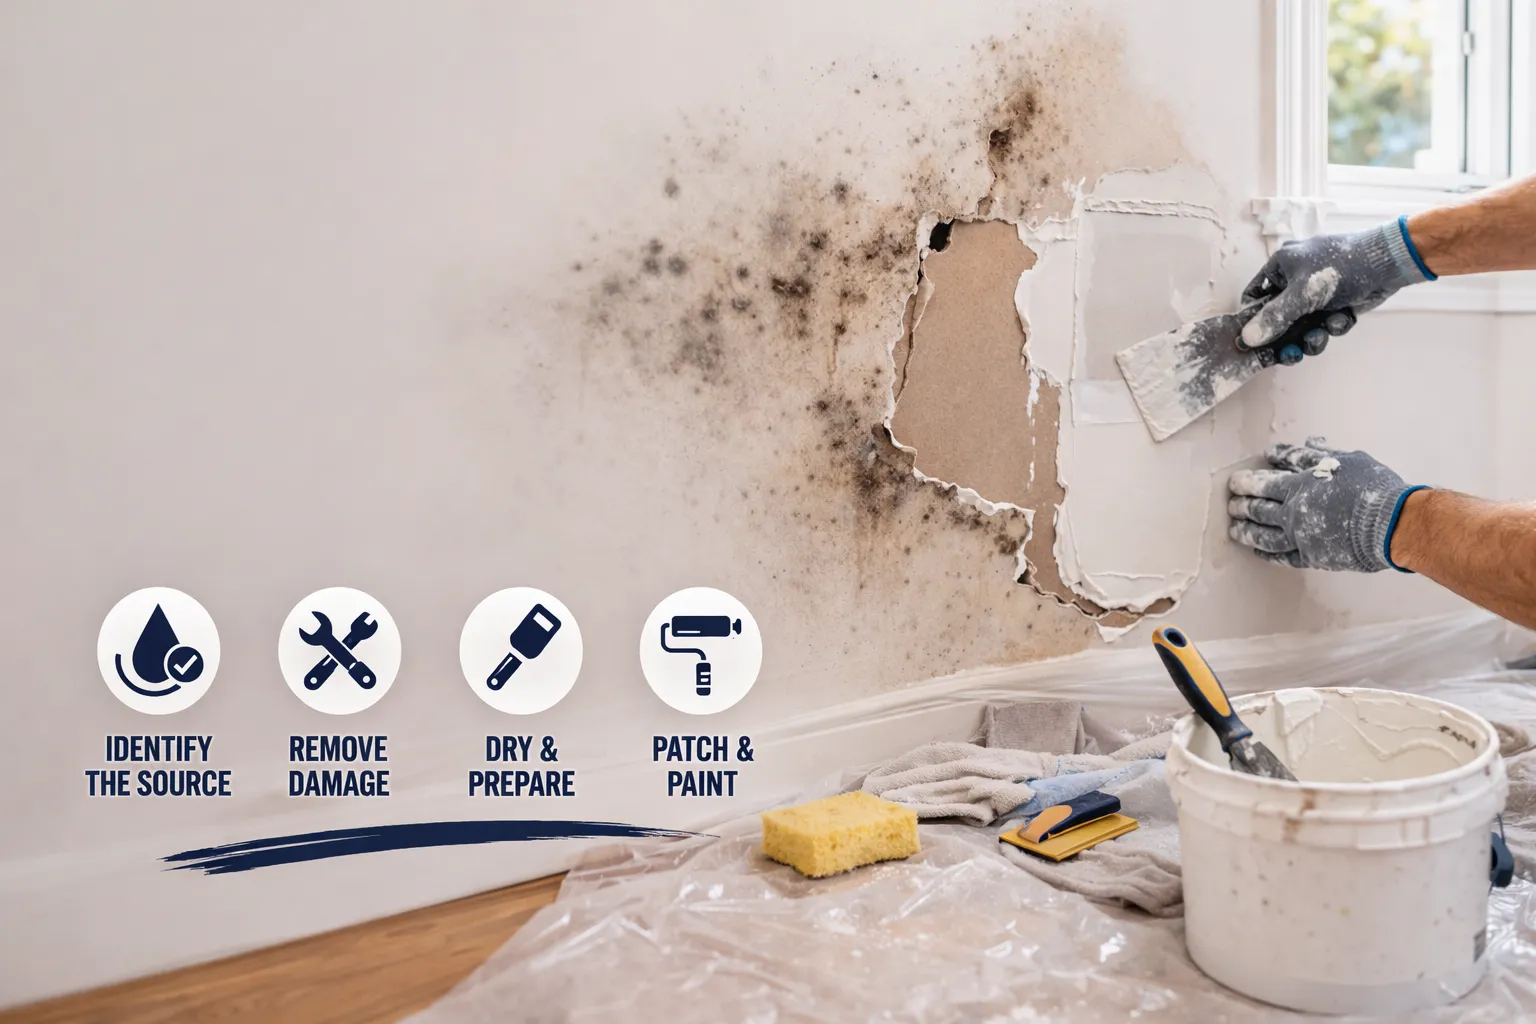
Water damage to drywall can transform a peaceful home environment into a stressful situation requiring immediate attention. Whether caused by burst pipes, roof leaks, or HVAC malfunctions, water-damaged drywall poses both aesthetic and structural concerns that demand prompt action. Understanding effective water damage drywall repair tips can mean the difference between a simple fix and extensive renovation costs.
For homeowners and property managers in Southeastern Michigan, where seasonal weather changes and aging infrastructure create unique challenges, water damage incidents are unfortunately common. The key to successful restoration lies in acting quickly, assessing damage accurately, and implementing proper repair techniques. While some repairs can be handled independently, knowing when to call professionals ensures your investment remains protected and your repairs blend seamlessly with existing finishes. This comprehensive guide provides essential water damage drywall repair tips to help you navigate the restoration process efficiently and effectively, protecting your property's value while restoring its original condition.
Understanding the Importance of Prompt Water Damage Response
Time is your most critical ally when dealing with water damage drywall repair. The longer moisture remains in contact with drywall materials, the more extensive and expensive the damage becomes. Gypsum-based drywall begins absorbing water immediately upon contact, causing structural weakening within hours. Within 24-48 hours, mold spores can begin germinating, transforming a simple repair into a health hazard requiring professional remediation.
Common causes of water damage in residential and commercial properties include burst pipes, leaking appliances, roof damage, foundation issues, and HVAC system malfunctions. In Detroit metro areas, aging plumbing systems and harsh winter conditions frequently contribute to sudden water intrusion events. Additionally, bathroom and kitchen areas are particularly susceptible due to high humidity levels and frequent water usage.
The repair process typically involves several stages: damage assessment, moisture removal, affected material removal, structural drying, replacement installation, finishing, and final inspection. Understanding this process helps property owners make informed decisions about DIY repairs versus professional intervention. Quick response minimizes damage scope, reduces repair costs, and prevents secondary issues like mold growth or structural compromise. Professional water damage restoration services can often complete repairs within days, while delayed response may require weeks of remediation work affecting multiple rooms and building systems.
Signs of Water Damage in Drywall
Recognizing water damage early is crucial for effective restoration and cost control. Visible signs are often the first indicators homeowners notice, but understanding both obvious and subtle damage indicators ensures comprehensive assessment and appropriate response.
Obvious Visual Indicators
- Discoloration: Brown, yellow, or rust-colored stains typically indicate prolonged moisture exposure, while darker stains may suggest ongoing leaks or severe saturation. These stains often appear in irregular patterns, spreading outward from the moisture source.
- Sagging drywall: Occurs when moisture compromises the material's structural integrity. Ceilings are particularly susceptible, as gravity compounds the weakening effect of water saturation.
- Peeling paint and wallpaper: Signals moisture infiltration behind surface finishes. As water penetrates drywall, it disrupts the bond between surface materials and the substrate, causing bubbling and cracking.
Hidden Damage Indicators
Soft spots in walls or ceilings indicate moisture absorption even when discoloration isn't apparent. Gently pressing suspected areas can reveal compromised drywall that feels spongy or yields under pressure. Musty odors often indicate mold growth within wall cavities or behind surface materials. Texture changes in drywall surfaces, such as bubbling or surface irregularities, indicate moisture-related expansion and contraction.
Damage Assessment Techniques
Visual inspection should include checking adjacent areas, as water often travels through wall cavities before becoming visible. Inspect electrical outlets, baseboards, and corners where water commonly accumulates. Professional assessment becomes necessary when damage extends beyond surface materials, affects multiple rooms, or involves structural elements.
Safety First: What You Need to Know Before Starting Repairs
Safety considerations are paramount when undertaking water damage drywall repair, as water and electrical systems create dangerous combinations. Before beginning any repair work, ensure electrical power to affected areas is shut off at the circuit breaker.
Structural vs. Cosmetic Damage Assessment
Determining whether damage is structural or cosmetic influences repair approach and safety requirements. Cosmetic damage typically affects only surface materials. Signs of structural damage include sagging ceilings, cracked or separated joints, visible framing damage, or extensive saturation affecting multiple wall sections.
Essential Safety Equipment and Precautions
Personal protective equipment includes safety glasses, dust masks, rubber gloves, and non-slip footwear. Required tools and materials for basic repairs include utility knives, drywall saws, sandpaper, joint compound, mesh tape, and matching paint. Quality materials ensure better results and safer working conditions.
DIY Water Damage Repair Steps
Successfully completing water damage drywall repair requires careful preparation, proper technique, and attention to detail. These step-by-step water damage drywall repair tips will guide you through the restoration process for minor to moderate damage scenarios.
Preparation and Material Gathering
Begin by assembling all necessary supplies before starting work. Essential materials include replacement drywall pieces, joint compound, mesh or paper tape, primer, and sandpaper. Prepare the work area by removing furniture and covering floors with plastic sheeting or drop cloths.
Damage Removal and Preparation
Cut out damaged drywall using a utility knife or drywall saw, extending cuts at least 2 inches beyond visible damage to ensure all compromised material is removed. Clean the exposed area thoroughly, checking for mold growth or persistent moisture. Measure the cutout area and transfer dimensions to replacement drywall.
Installation and Finishing Process
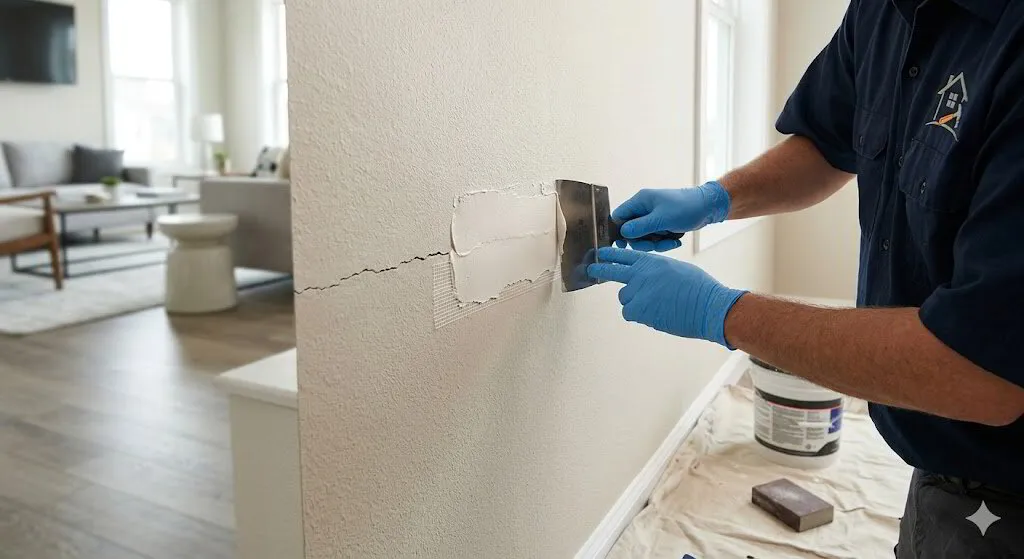
Install the replacement drywall piece, ensuring it sits flush with surrounding surfaces. Secure with appropriate screws, slightly countersinking screw heads. Apply mesh tape over all joints and apply the first coat of joint compound using a putty knife. For detailed guidance on a professional finish, see our guide to professional finishing.
Paint Application and Final Details
Select primer specifically designed for drywall repairs. Prime the repaired area evenly before applying finish paint. Choose paint that matches existing wall color and sheen. Apply thin, even coats and allow adequate drying time between coats.
When to Hire a Professional
While basic repairs can be accomplished by homeowners, certain situations require expert drywall repair to ensure lasting results. Understanding when to call professionals protects your investment and ensures repairs meet building codes.
Complex Damage Scenarios
Extensive water damage affecting multiple rooms exceeds typical DIY capabilities. Mold contamination requires professional remediation when affected areas exceed 10 square feet. Professional contractors can manage complex projects, ensuring proper sequencing and code compliance throughout the restoration process.
Benefits of Professional Repair Services
Professional drywall repair services bring specialized expertise, ensuring repairs blend seamlessly with existing finishes. Time efficiency represents a significant advantage; professional teams often finish work within days. Quality assurance through warranties and insurance coverage protects property owners from future issues.
Preventing Future Water Damage
Implementing comprehensive maintenance tips and preventive measures significantly reduces the likelihood of future water damage incidents. Proactive home repair strategies cost far less than emergency restoration services.
Plumbing and Roofing Maintenance
Regular plumbing inspections should include checking supply lines, drain connections, and appliance hoses. Roof maintenance involves annual inspections of shingles, flashing, gutters, and downspouts. HVAC system maintenance includes regular filter changes and annual professional inspections.
Proactive Monitoring and Inspection
Establish regular inspection schedules for areas prone to water damage, including bathrooms, kitchens, and utility rooms. Install moisture detection systems in high-risk areas. Document baseline conditions with photographs to help identify changes during future inspections.
Conclusion and Recap
Effective water damage restoration depends on quick response, proper assessment, and appropriate repair techniques. These water damage drywall repair tips provide a foundation for addressing common damage scenarios while recognizing when professional intervention becomes necessary. The key to successful restoration lies in understanding your capabilities and limitations, ensuring safety throughout the repair process, and implementing quality techniques that provide lasting results.
Remember that water damage affects more than just visible surfaces. Thorough drying and proper material removal are essential for preventing future complications. Prevention remains the most cost-effective approach to water damage management. Acting quickly minimizes scope and cost while protecting your property investment.
Ready to restore your property to its original condition?
Contact The Patch Guyz today for expert water damage drywall repair services throughout the Detroit metro area. Our experienced team provides fast, professional solutions that blend seamlessly with your existing finishes.
Request a Free ConsultationRelated Articles
Ultimate Guide: How To Repair Textured Walls Like A Pro
Ultimate Guide: How to Repair Textured Walls Like a Pro Textured walls have become a defining feature in countless homes across Southeastern Michigan,…
The Ultimate Guide to Finding the Best Drywall Repair Services Near You
Finding the Best Drywall Repair Services Near You: A Comprehensive Guide When damage strikes your walls or ceilings, finding reliable repair services …
Flawless Walls: The Complete Guide to Professional Drywall Crack Repair
Expert Guide to Professional Drywall Crack Repair Services Discovering cracks in your drywall can be frustrating, whether you're a homeowner dealing w…