
The Right Approach to Fixing Water Damaged Drywall (2)
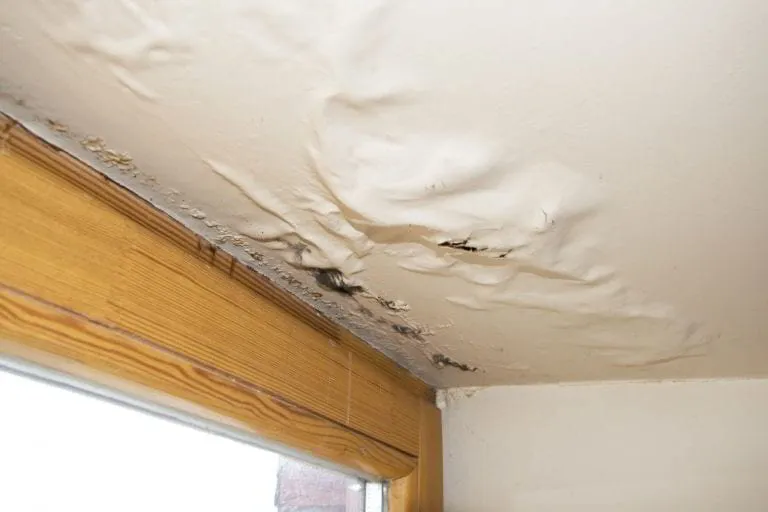
he right approach to fixing water-damaged drywall can save homeowners not only time and money but also prevent potential health hazards associated with mold growth. Water damage is a common issue that can arise from various sources, such as leaky roofs, burst pipes, or even high humidity levels. Ignoring the signs of water-damaged drywall can lead to more significant problems down the line, affecting both the structure of your home and your family's well-being. In this guide, we will explore effective strategies for identifying, repairing, and preventing water damage to your drywall, empowering you with the knowledge needed to tackle this common household challenge with confidence.
Understanding Water Damage in Drywall
Water damage can be a homeowner’s worst nightmare, especially when it impacts the often-overlooked drywall. Recognizing how water affects drywall is crucial for restoring your home effectively.
Common Causes of Water Damage
- Leaking pipes
- Roof leaks
- Humidity and condensation
- Flooding
Signs of Water-Damaged Drywall It's essential to be vigilant for signs that indicate your drywall may be compromised. Keep an eye out for:
Discoloration or staining
- Peeling paint or wallpaper
- Sagging or warped sections
- Soft or crumbling texture
Risks of Ignoring Water Damage Failing to address water damage promptly can lead to a range of problems, including:
Structural damage to your home
- Molding and health risks
- Increased repair costs over time
- Safety First: Precautions Before You Start
Before starting any repair, safety should be your top priority. Here are essential precautions to take:
Protecting Yourself and Your Home
- Wear protective gear (gloves, goggles, masks)
- Turn off electricity in affected areas to prevent shocks
- Ensure proper ventilation to avoid inhaling mold spores
Evaluating the Damage: When to Call a Professional Determining whether you can handle the situation yourself or need professional help is crucial. Consider:
- Extent of the damage: Is it isolated or widespread?
- Your comfort and experience with similar repairs
- The potential health risks associated with mold growth
The Right Approach to Fixing Water-Damaged Drywall
Once you've assessed the situation, it's time to take action. Here's the right approach to fixing water-damaged drywall effectively:
- Evaluating the Extent of Damage
- Check for moisture on both sides of the drywall.
- Identify if insulation behind the drywall is wet.
Materials Needed for Repair Ensure you have all necessary materials on hand, such as:
- New drywall
- Joint compound
- Tape (fiberglass or paper)
- Utility knife
- Sandpaper
- Paint
By following this structured approach, you not only address the immediate issue but also pave the way for a lasting solution. For more detailed information on drywall repair and materials, check out The Home Depot.
Step-by-Step Fixing Process
Once you’ve determined the extent of the damage and gathered your materials, you can move into the core of the repair. Here’s a step-by-step guide that outlines the right approach to fixing water-damaged drywall.
Removing Damaged Drywall
- Use a utility knife to carefully cut out the damaged section of drywall.
- Ensure you remove an area that’s at least a foot beyond the visible damage to prevent mold.
- Dispose of the damaged drywall safely.
Repairing the Source of Moisture
- Identify and fix the source of the water leak before proceeding with any repairs.
- Use sealants for minor leaks or consult a professional for significant plumbing issues.
- Dry the area thoroughly using fans or a dehumidifier to prevent mold growth.
Installing New Drywall
- Cut a piece of new drywall to fit the opening created during the removal process.
- Secure the new drywall with screws, ensuring it is flush with the surrounding material.
- Apply joint tape along the seams.
Taping and Mudding the Seams
- Spread a layer of joint compound over the taped seams using a putty knife.
- Feather the edges to create a smooth transition between the new and existing drywall.
- Allow the compound to dry completely before applying additional coats as needed.
Sanding and Finishing
- Once the joint compound is dry, lightly sand the area until smooth.
- Wipe down the area to remove dust and prepare it for painting.
- Paint the repaired section to match the surrounding wall.
Preventing Future Water Damage
To ensure long-term integrity after the repair, taking steps to prevent future water damage is essential. Consider these strategies:
- Regularly inspect plumbing and roofing for potential leaks.
- Maintain appropriate humidity levels in your home.
- Emphasize proper ventilation in areas prone to moisture, like bathrooms and kitchens.
By following these steps, you’ll be well on your way to executing the right approach to fixing water-damaged drywall. For additional resources on drywall repair, visit the Lowe's website.
Preventing Future Water Damage
Once you've successfully repaired your drywall, it's crucial to focus on prevention to avoid encountering similar issues in the future. Embracing preventative measures is key to ensuring the durability of your repairs and the overall health of your home.
Regular Inspections and Maintenance Routine checks can help catch potential problems before they escalate. Here are some key areas to inspect:
- Roof: Look for missing or damaged shingles that could lead to leaks.
- Plumbing: Inspect pipes for signs of corrosion or wear.
- Windows and Doors: Check seals and caulking for cracks that could let moisture in.
Enhancing Drainage and Ventilation Proper drainage and ventilation systems can make a significant difference in preventing water damage. Consider the following steps:
- Gutters: Clean gutters and downspouts regularly to ensure proper channeling of rainwater away from your home.
- Sump Pumps: Install and maintain sump pumps in basements or crawl spaces to manage water accumulation.
- Ventilation: Use exhaust fans in kitchens and bathrooms to reduce humidity levels.
Humidity Control Maintaining optimal indoor humidity can minimize the chances of moisture-related issues. Aim for a humidity level between 30-50%. You can achieve this by:
- Dehumidifiers: Use portable dehumidifiers in high-moisture areas.
- Air Conditioning: Keep your air conditioning unit in good working order to help control humidity.
Educating Household Members Make sure everyone in your household understands the importance of preventing water damage. Key points to cover:
- Notify about signs of leaks or water damage.
- Encourage prompt reporting of any plumbing issues.
By following these preventive measures, you can ensure that you are prepared and responsive to conditions that could lead to future water damage. This proactive approach reinforces the right approach to fixing water-damaged drywall while maintaining the health and integrity of your living space. For more information on home maintenance best practices, visit the HomeAdvisor website.
Conclusion: Embracing the Right Approach to Water- Damaged Drywall
Successfully addressing water-damaged drywall doesn’t just stop at the repair; it involves a continual commitment to maintenance and prevention. Understanding the right approach to fixing water-damaged drywall is essential for safeguarding your home against moisture problems.
Recap of Key Steps Throughout the repair process, remember these crucial steps:
- Identify the Cause of Water Damage: Fix plumbing issues or leaks before repairs.
- Careful Removal: Remove damaged drywall properly and assess surrounding areas.
- Skillful Installation: Follow the proper installation methods for new drywall, including taping and mudding.
- Finish and Paint: Use the right tools for sanding and painting to achieve a seamless finish.
Importance of Timely Repairs Addressing drywall damage promptly can significantly influence the outcome. Key benefits of timeliness include:
- Mitigating Molding: Quick repairs reduce the risk of mold growth, which can lead to health issues.
- Cost-Effectiveness: Tackling damage early often means lower repair costs than allowing the situation to worsen.
When to Seek Professional Help While many homeowners can effectively manage minor repairs, knowing when to seek professional assistance is vital:
- Extensive Damage: If you find significant mold or structural issues.
- Uncertainty: If you're unclear about the source of the water damage or how extensive it is.
- Lack of Experience: If you're uncomfortable with DIY repairs, hiring a professional can save time and ensure quality.
By following these guidelines and actively engaging in preventative practices, you’ll not only repair your water-damaged drywall but also create a more resilient living environment. For further resources on home renovation and improvement, check out Angie's List.
Expert Tips for Successful Repairs
When it comes to the right approach to fixing water-damaged drywall, a few expert tips can make a significant difference in the quality and durability of your repairs. With careful consideration and attention to detail, you can ensure long-lasting results.
Preparation is Key Before diving into repairs, proper preparation can help streamline the process. Keep these pointers in mind:
- Clear the Area: Remove furniture and items from the repair site to provide ample working space.
- Gather Tools and Materials: Have all necessary tools at hand to avoid interruptions during the repair.
Choosing the Right Drywall Not all drywall is created equal. Here’s what to consider:
- Moisture-Resistant Options: Select green board or cement board for areas prone to high humidity.
- Thickness: Use thicker drywall (5/8 inch) in areas where impact resistance is needed, like walls that may be subjected to wear and tear.
Mastering the Taping Technique Proper taping is essential for a seamless finish. To master this technique:
- Apply Tape Smoothly: Use a taping knife to press the tape into wet joint compound without bubbles.
- Feather the Edges: Spread the joint compound beyond the tape's edges to create a smooth transition.
Sanding and Finishing After taping and applying joint compound, proper sanding is crucial for a professional look:
- Use a Fine-Grit Sandpaper: This helps achieve a smooth surface without damaging the drywall.
- Clean After Sanding: Wipe away dust with a damp cloth before painting to ensure good adhesion.
Stay Vigilant for Future Issues Even after repairs, continue to monitor your walls for any signs of recurring water damage. Regular inspections can help you catch any problems early, ensuring the integrity of your work.
For additional guidance and tips on drywall repairs, consider checking out This Old House. Their extensive library offers valuable insights into home improvement projects, including drywall repairs.
Frequently Asked Questions
What are the first signs of water-damaged drywall?
The first signs of water-damaged drywall typically include discoloration or yellowish stains, which indicate that moisture has penetrated the surface. Additionally, you may notice peeling paint, sagging areas, or a soft texture when you press on the affected drywall. These symptoms suggest that it's time to assess the damage and consider repairs.
Can I fix water-damaged drywall myself?
Yes, many homeowners can successfully fix minor water damage to drywall themselves, especially with the right tools and resources. However, if the damage is extensive, involves mold growth, or you are unsure how to proceed, it may be wise to hire a professional. Assess your skill level and comfort with DIY repairs before starting.
How long does it take to repair water-damaged drywall?
The time required to repair water-damaged drywall varies based on the extent of the damage and the repair methods used. Small repairs may take just a few hours, while extensive damage could require several days for removal, drying, and reinstallation. Always factor in additional time for drying joint compound and paint.
How can I prevent water damage in the future?
Preventive measures include regular inspections of plumbing systems, roofs, and seals around windows and doors. Ensure that gutters and downspouts are clear to direct water away from your home. Installing moisture control solutions like dehumidifiers in high-humidity areas can also significantly reduce the risk of future water damage.
When should I consider replacing drywall instead of repairing it?
If the drywall has severe water damage—such as extensive mold growth, structural weakening, or major warping—it may be more effective to replace it rather than attempt a repair. Additionally, if the damaged area is larger than a few feet, replacement will often provide a better, more durable solution.
Related Articles
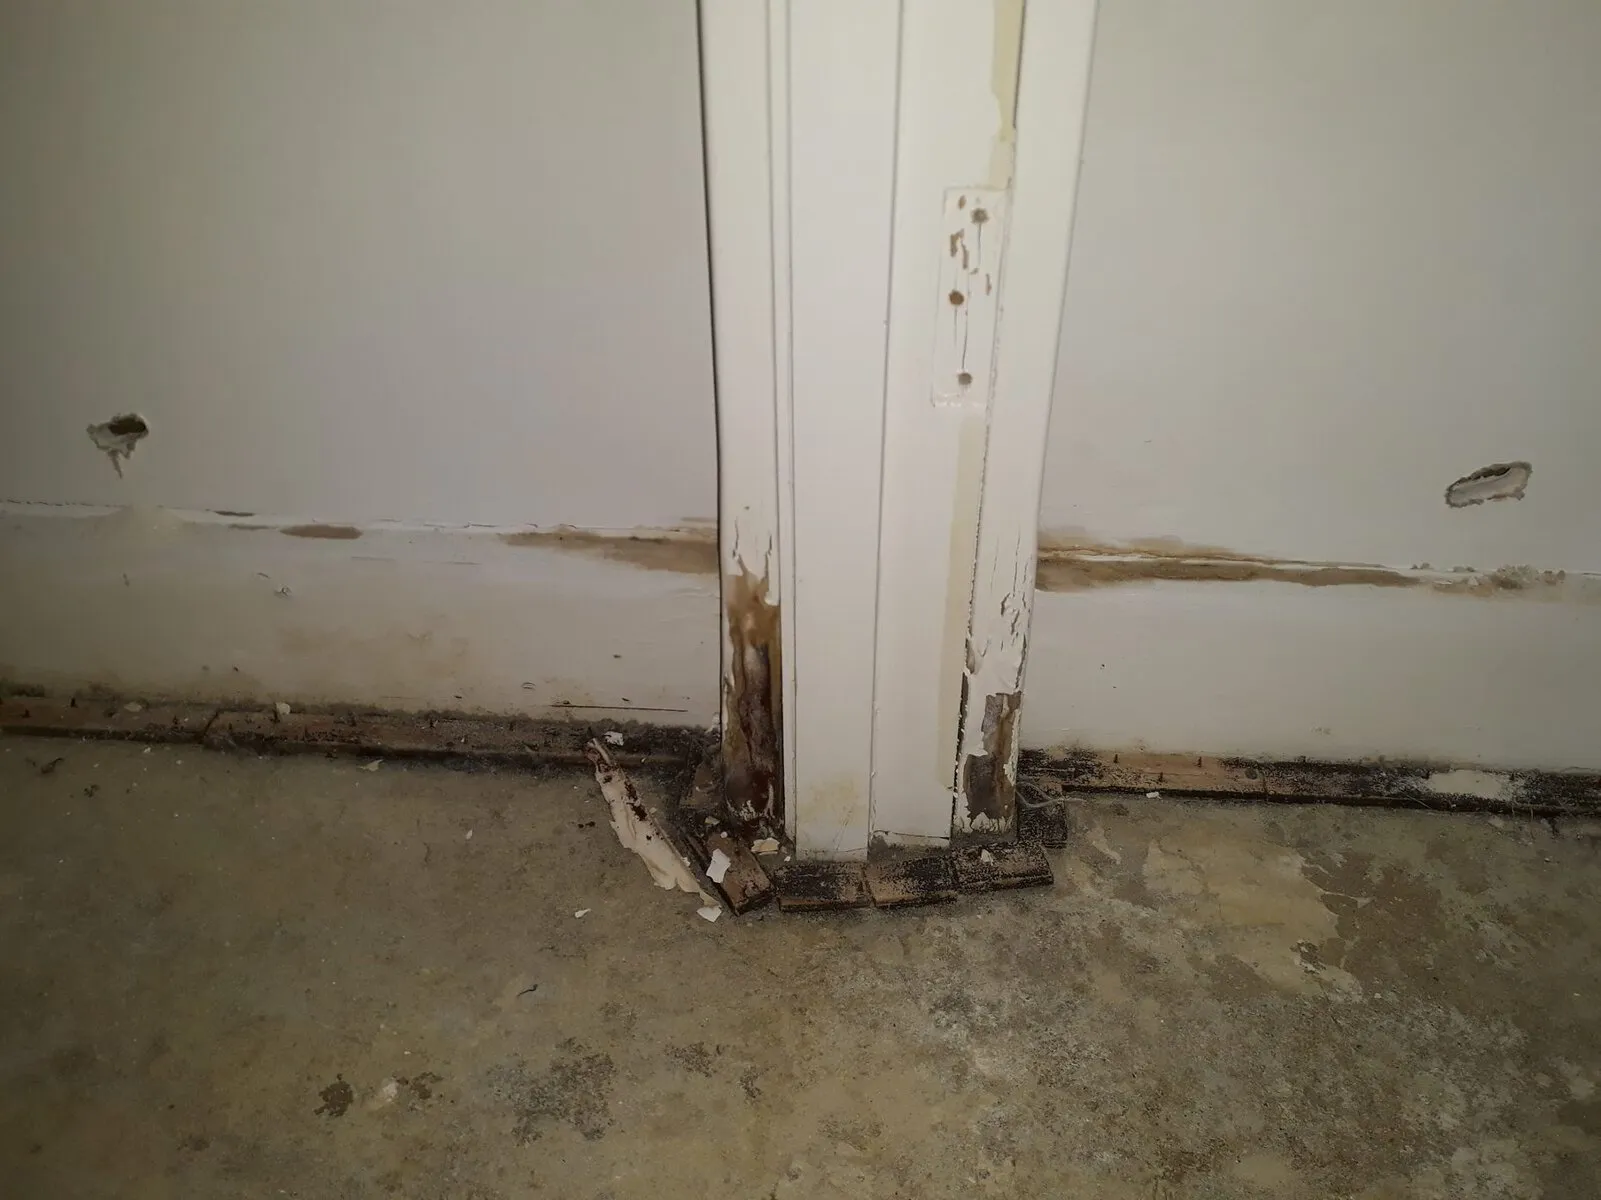
Affordable Water Damage Drywall Repair Solutions
Affordable water damage drywall repair is a concern that many homeowners face, often unexpectedly. Did you know that over 14,000 people in the U.S. ex…
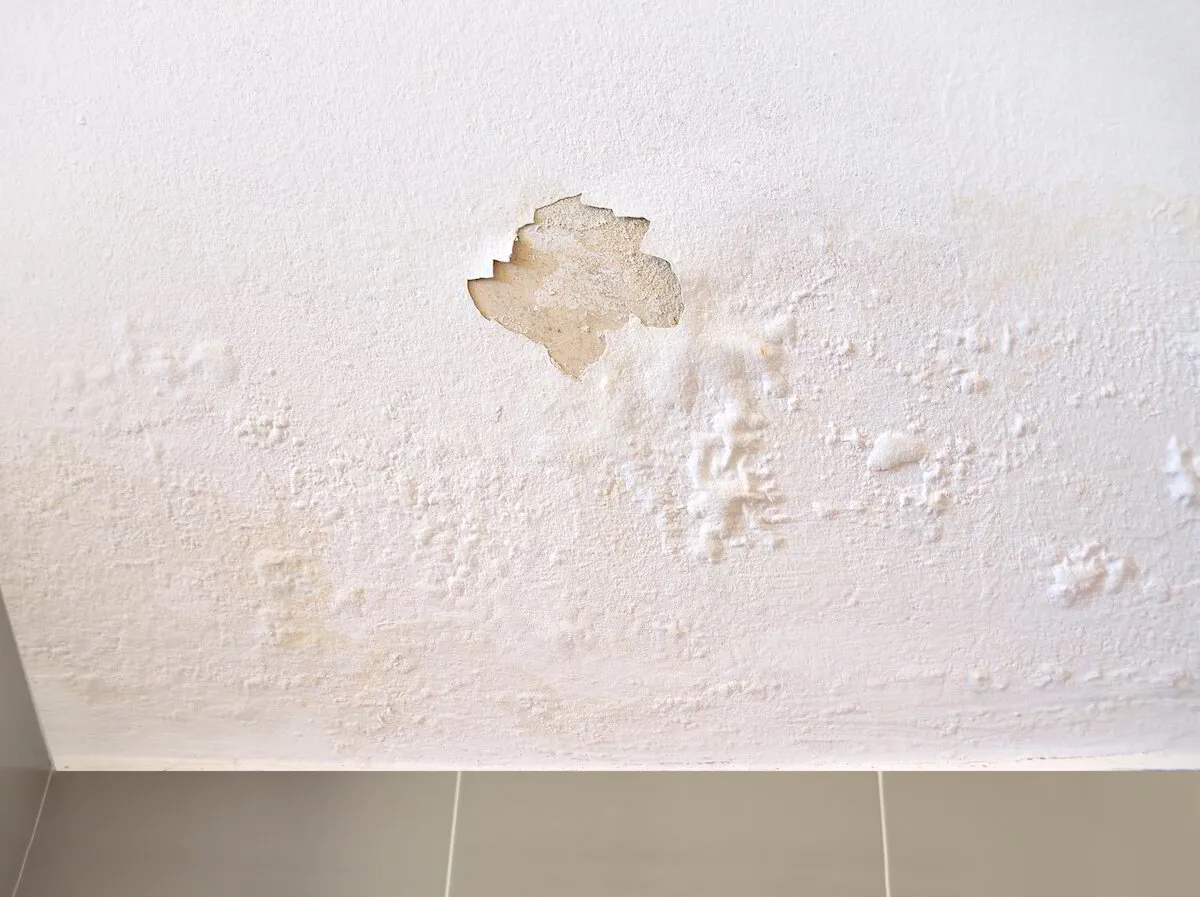
Affordable Water Damage Drywall Repair Solutions (1)
Affordable water damage drywall repair is not just a necessity; it can be a daunting task that many homeowners face at some point. Did you know that w…