Specialized Drywall Tear out and Replacement Tips
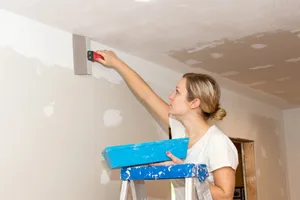
Specialized drywall tear out and replacement is often a necessary procedure that homeowners
may encounter at some point. Did you know that untreated water damage can not only ruin your
walls but also lead to costly repairs down the line? Whether it’s due to mold growth, cracks, or
general wear and tear, addressing drywall issues promptly is crucial for maintaining both the
safety and aesthetics of your home. In this blog post, we’ll explore everything you need to know
about specialized drywall tear out and replacement, from recognizing the signs of damage to the
techniques involved in ensuring a seamless and long-lasting finish. Understanding these
elements will empower you to make informed decisions about maintaining your property and
enhancing its value.
Understanding Specialized Drywall Tear
Out and Replacement
Specialized drywall tear out and replacement is an essential procedure to maintain the integrity
and aesthetics of your interior spaces. This process involves the removal of damaged drywall
and replacing it with new materials to ensure a flawless finish and structural support. Not only
does it improve the visual appeal of your rooms, but it also addresses potential health hazards
like mold and mildew that can result from water damage.
Signs You Need Specialized Drywall Tear Out
Before undergoing a specialized drywall tear out, it's crucial to identify the signs that indicate a
need for intervention. Here are common indicators:
- Water Damage: Staining, bubbling, or peeling paint can signify water seepage behind the
drywall.
- Cracks or Bulges: Noticeable cracks or bulges in your walls may suggest structural
issues or hidden damage.
- Mold Growth: If mold is present, it’s a clear signal that moisture has penetrated the
drywall, requiring immediate action.
- Deteriorating Plaster Walls: If your property has old plaster walls that are crumbling or
cracking, replacement with modern drywall could improve safety and appearance.
Preparing for Specialized Drywall Tear Out
Effective preparation can save time and ensure safety during the specialized drywall tear out
process. Consider the following steps:
1. Assessment: Decide whether to tackle the project yourself or hire professionals by
evaluating the extent of damage.
2. Gather Tools: Essential tools might include a utility knife, drywall saw, hammer, joint
compound, tape, and safety gear like goggles and masks.
3. Safety Precautions: Ensure proper ventilation in the work area and be mindful of
electrical and plumbing systems hidden behind the drywall.
The Process of Specialized Drywall Tear Out
When you undertake a specialized drywall tear out, following a systematic process is vital.
Here's a step-by-step guide:
- Turn Off Utilities: Ensure all relevant utilities are turned off to avoid accidents.
- Remove Baseboards and Trim: Carefully detach any baseboards or trimming around
the drywall edges.
- Cut and Remove Damaged Drywall: Use your utility knife to score the drywall and a
drywall saw to cut it out.
- Dispose of Materials Properly: Ensure that the removed drywall is disposed of following
local regulations, especially if it contains hazardous materials.
For those unsure about the process, hiring a professional service like The Patch Guyz can
ensure a thorough and efficient job.
Specialized Drywall Replacement Techniques
Once the old drywall has been removed, it’s time for specialized drywall replacement. Here are
key aspects to consider:
- Selecting the Right Materials: Choose drywall that meets your needs, whether
standard, moisture-resistant, or fire-resistant options. - Installation Process:
○ Secure the new drywall panels in place.
○ Use drywall screws for better stability.
- Finishing Touches:
○ Tape seams to prevent cracks.
○ Apply joint compound for a smooth finish, allowing it to dry before sanding.
For more guidelines on drywall materials, you might want to check USG Corporation, a leading
manufacturer in the industry.
Benefits of Professional Specialized
Drywall Tear Out and Replacement
While some homeowners may consider DIY approaches, enlisting professional help for
specialized drywall tear out and replacement offers numerous benefits:
- Time Efficiency: Professionals can complete the job quickly and efficiently, minimizing
disruptions.
- Quality Assurance: Experts ensure high standards during installation, reducing the
chance of future issues.
- Expertise in Complex Situations: Professionals have the necessary experience to
handle unexpected problems that may arise during the tear out process.
In conclusion, identifying the necessary steps and understanding the importance of specialized
drywall tear out and replacement can significantly impact your home's safety and aesthetic
appeal. For extensive repairs, always consider consulting professionals to ensure the job is
done right.
Maintenance Tips Post Replacement
After completing specialized drywall tear out and replacement, it’s crucial to maintain your newly
installed drywall to ensure it remains in optimal condition. Proper maintenance can prevent
future damage and extend the life of your walls. Here are some effective tips to help you take
care of your drywall:
Regular Inspections
Conduct regular inspections of your drywall to catch any potential issues early. Look for signs of:
- New Cracks: Check for signs of shifting or settling that may cause cracks to appear.
- Moisture Marks: Inspect for any signs of water damage or stains, especially in areas
prone to humidity.
- Mold Growth: Keep an eye out for any mold or mildew, especially in bathrooms or
basements.
Preventative Measures
Taking proactive measures can greatly enhance the durability of your drywall. Consider these
strategies:
- Control Humidity Levels: Use dehumidifiers to prevent excess moisture in your home,
especially in humidity-prone areas.
- Regular Cleaning: Dust and clean your walls regularly using a damp cloth to keep them
free from allergens and dirt.
- Repair Minor Damage Promptly: Address small issues like nail pops or minor
scratches immediately to prevent larger repairs down the line.
When to Seek Professional Help
It’s essential to know when to consult a professional for specialized drywall tear out and
replacement. Here are situations that may require expert intervention:
- Extensive Water Damage: If water damage is widespread, it may be more than just
surface-level repairs.
- Structural Issues: If you suspect underlying issues that may affect your home’s
structure, seek professional assessment.
- Mold Infestation: Large areas of mold growth necessitate specialized skills and
equipment to safely remediate.
For more information on caring for your drywall or when to hire professionals, consider visiting
CertainTeed, a leading name in building materials that offer comprehensive resources and
guidance.
Conclusion
Regular maintenance and timely intervention are key to preserving the condition of your drywall
following specialized tear out and replacement. Implementing these maintenance tips can help
you avoid costly repairs in the future and keep your home looking its best.
Conclusion: Making the Right Choice for Your Drywall Needs
When it comes to the integrity and aesthetics of your home, specialized drywall tear out and
replacement plays a significant role. Ensuring that your drywall is free from damage not only
enhances the appearance of your space but also mitigates potential health risks associated with
mold and structural weaknesses.
Key Takeaways
Here are some essential takeaways to remember:
- Timely Repairs are Crucial: Addressing signs of damage promptly can prevent more
extensive repairs and costs down the line.
- Professional Services Provide Assurance: Hiring professionals for specialized drywall
tear out and replacement ensures high-quality results and safety, particularly in complex
situations.
- Continuous Maintenance is Essential: Regularly inspecting and maintaining your
drywall will help preserve its condition and appearance.
Resources for Additional Support
If you find yourself in need of resources or further information about drywall materials and repair
techniques, numerous reputable companies offer guidance and products. For more on
high-quality drywall solutions and professional advice, consider visiting National Gypsum, a
trusted leader in the industry.
In conclusion, investing in specialized drywall tear out and replacement with professional help
can save you time, money, and stress in the long run. Prioritize the health and beauty of your
home by taking the necessary steps today.
Understanding Specialized Drywall Tear
Out and Replacement
Specialized drywall tear out and replacement is a critical process for maintaining the structural
integrity and aesthetic appeal of your home. This procedure involves the careful removal of
damaged drywall and the installation of new, high-quality materials. Understanding when and
how to perform this operation can save homeowners time and money while ensuring a safe
living environment.
Why Specialized Drywall Tear Out is Necessary
There are several reasons why specialized drywall tear out is essential:
- Water Damage: Prolonged exposure to moisture can lead to severe issues, including
mold growth and structural deterioration. Specialized tear out is crucial to eliminate these
hazards effectively.
- Aesthetic Repairs: Old or damaged drywall can mar the appearance of a room.
Replacement with fresh materials can rejuvenate a space and enhance your home's
value.
- Structural Integrity: Cracks and bulges often indicate deeper issues that require
immediate attention to maintain your home's safety.
The Benefits of Professional Services
Opting for professional services for specialized drywall tear out and replacement offers
significant advantages:
- Expertise: Professionals have the training and experience needed to tackle complex
drywall issues effectively.
- Quality Materials: A contractor can recommend high-quality materials that are suitable
for your specific needs, ensuring longevity and performance.
- Efficiency: Professionals can complete the task more quickly and safely, allowing you to
return to normalcy sooner.
For homeowners looking for reputable professionals, visiting The Home Depot is a great
resource for finding expert services and materials for drywall projects.
Final Thoughts
Investing in specialized drywall tear out and replacement is not merely an aesthetic decision; it's
a necessary step in maintaining the health of your home. By recognizing the signs of damage
and understanding the importance of professional intervention, you can ensure your space
remains safe, beautiful, and functional for years to come.
Signs You Need Specialized Drywall Tear Out
Identifying the need for specialized drywall tear out is crucial for homeowners to maintain their
property’s safety and aesthetic appeal. Various signs can indicate that it’s time to consider this
service. Recognizing these early can prevent more costly repairs later.
Common Indicators of Drywall Damage
Look for the following signs that may suggest you need specialized drywall tear out:
- Water Stains: Persistent water stains on the walls are a clear indication of moisture
problems. These stains often accompany leaks and can compromise the material behind
the drywall.
- Cracks and Bulges: Significant cracks or bulging areas can signify structural issues or
deterioration due to moisture. These issues might require complete drywall removal.
- Mold Growth: The presence of mold, especially in damp areas like basements and
bathrooms, means it’s crucial to act quickly. Mold can spread rapidly and poses
health risks.
- Deteriorating Plaster: If your home features aging plaster walls, look for signs of
crumbling or cracking. Replacing plaster with modern drywall can provide better insulation
and an improved aesthetic.
Assessing the Damage
When you notice any of these signs, it’s essential to:
1. Investigate Further: Identify the source of the problem to determine if it’s a one-time
issue or part of a larger problem.
2. Evaluate the Extent of Damage: Decide whether a simple repair or a complete tear out
is necessary based on the severity.
Professional Assessment
If you’re unsure about the condition of your drywall, seeking a professional assessment is a
wise decision. A qualified contractor can provide insights and recommendations tailored to your
specific situation.
For reliable professional services, consider visiting Lowe's, a trusted source for home
improvement that offers specialized drywall services and materials.
By being proactive in recognizing these signs and understanding the need for specialized
drywall tear out and replacement, you can better protect your home and ensure a healthier
living environment.
Preparing for Specialized Drywall
Tear Out
Preparing for specialized drywall tear out is essential to ensure the process goes smoothly and
safely. Proper planning can help you manage potential challenges, protect your home, and
make room for an efficient tear-out and replacement process.
Steps to Prepare for a Successful Tear Out
Here are key steps to follow when preparing for specialized drywall tear out:
- Clear the Area: Remove furniture, decorations, and personal items from the work area to
prevent damage and facilitate the tear-out process. This will also give the professionals
enough space to work safely.
- Protect Surfaces: Use drop cloths or plastic sheeting to cover floors, windows, and any
adjacent walls not being worked on. This minimizes dust and debris accumulation during
the tear-out.
- Inspect Utilities: Turn off electrical and water supply to any affected areas. If plumbing or
electrical lines are embedded within the drywall, consider consulting with professionals to
handle these utilities safely.
Organizing Tools and Materials
If you plan to tackle the project yourself, ensure you have the right tools and materials ready.
Some essentials include:
- Utility Knife: For cutting drywall and scoring edges.
- Drywall Saw: To make precise cuts.
- Hammer and Screwdriver: For removing screws and nails.
- Safety Gear: Gloves, goggles, and a mask to protect against dust and debris.
Consider Hiring Professionals
While DIY projects can be rewarding, hiring professionals for specialized drywall tear out and
replacement ensures the job is done safely and efficiently. They have the expertise to deal with
unexpected complications and will follow best practices for proper disposal of old materials.
For professional advice and services, consider visiting HomeAdvisor, a reliable resource for
finding qualified contractors in your area.
By taking the time to prepare effectively for specialized drywall tear out, you can ensure a
smoother process that minimizes risks and results in a high-quality replacement.
The Process of Specialized Drywall
Tear Out
Understanding the process of specialized drywall tear out is essential for homeowners. Whether
you’re opting for a DIY approach or hiring professionals, knowing the steps involved can help
you prepare effectively and manage expectations.
Step-by-Step Guide to Specialized Drywall Tear Out
The specialized drywall tear out process generally includes the following steps:
1. Preparation of the Work Area:
○ Clear the space of furniture and obstacles.
○ Cover floors and adjacent walls to protect against dust and debris.
2. Safety Measures:
○ Ensure the area is well-ventilated.
○ Wear safety goggles, gloves, and a mask to protect against dust and potential
irritants.
3. Turn Off Utilities:
○ Shut off electricity to any relevant outlets or fixtures.
○ If plumbing exists behind the drywall, ensure the water supply is turned off.
4. Remove Trim and Baseboards:
○ Carefully detach wall trim and baseboards using a pry bar or appropriate tools,
○ making sure not to damage them if you plan to reuse them.
5. Cut and Remove Drywall:
○ Score the drywall with a utility knife along the pre-defined cuts to minimize damage.
○ Use a drywall saw to cut through the material for larger sections.
○ Remove the drywall panels, being cautious of any electrical wiring or plumbing.
6. Dispose of Old Materials:
○ Properly dispose of old drywall and debris, following local regulations for waste
disposal.
Handling Electrical and Plumbing Considerations
When performing specialized drywall tear out, special attention must be paid to any electrical
wiring or plumbing that may be located behind the drywall:
- Identify and Label Wires: If you find electrical wiring, carefully label them before removal
to make reconnection easier later.
- Consult Professionals: If you are uncertain about how to safely handle wiring or piping,
it’s best to consult a licensed electrician or plumber.
Benefits of Professional Help
While the steps outlined provide a clear path for a DIY approach, hiring professionals for
specialized drywall tear out can offer significant benefits:
- Safety: Professionals are trained to handle potentially hazardous situations effectively.
- Efficiency: Experts complete the process much faster and with fewer errors.
- Comprehensive Solutions: They can identify hidden issues, such as mold or structural
damage that may need further attention.
For expert drywall services, consider visiting Angie's List, a reputable resource for finding
trusted contractors in your area.
By understanding and adhering to these steps during the specialized drywall tear out process,
you can ensure a safe and successful outcome for your drywall replacement project.
Specialized Drywall Replacement
Techniques
Once the specialized drywall tear out is complete, the next crucial step is the replacement of the
drywall. Understanding the techniques involved in this process can help ensure that your new
drywall is installed correctly and lasts for years to come.
Types of Drywall
Selecting the right type of drywall is essential based on the environment and needs of the
space. Here are a few common types:
- Standard Drywall: The most common type used in interior wall construction.
- Moisture-Resistant Drywall: Ideal for areas prone to humidity, such as bathrooms and
kitchens, this drywall helps prevent mold growth.
- Fire-Resistant Drywall: Used in areas where fire safety is a concern, like garage walls
and shared walls in multi-family buildings.
Installation Steps
Here’s a step-by-step guide for specialized drywall replacement:
1. Measure and Cut New Drywall:
○ Measure the dimensions of the area accurately.
○ Use a utility knife to score and cut the drywall to fit the space.
2. Position and Secure the Drywall:
○ Hold the drywall in place, aligning it with existing studs.
○ Use drywall screws or nails to secure it firmly to the wall, ensuring it is flush with
adjoining panels.
3. Tape and Mud the Joints:
○ Apply joint tape over the seams between drywall panels.
○ Use a putty knife to spread joint compound (mud) over the tape and seams,
feathering the edges for a smooth finish.
4. Sand and Finish:
○ Once the joint compound is dry, sand it down to create a smooth surface.
○ Apply a second coat of joint compound if necessary, repeating the sanding process
for a flawless finish.
5. Prime and Paint:
○ After the final sanding, apply a primer to the drywall to seal the surface.
○ Finish with your choice of paint for a polished look.
Final Considerations
- Quality Assurance: Ensure that all screws are sunk slightly below the surface, and the
drywall joints are well-finished to avoid cracks in the future.
- Professional Help: If you are uncertain about your ability to properly replace drywall or
finish it effectively, hiring a professional service is a wise choice. They will provide
expertise, tools, and materials suited to your specific needs.
For further guidance on drywall products and installation, you can visit Drywall Direct, a trusted
supplier for various drywall materials and accessories.
By following these specialized drywall replacement techniques, you can ensure a successful
and long-lasting outcome, turning your newly exposed space into a beautiful, functional area
once again.
What is specialized drywall tear out and replacement?
Specialized drywall tear out and replacement refers to the process of removing damaged or
compromised drywall and replacing it with new materials. This service is typically required when
there are issues such as water damage, mold growth, or structural concerns that impair the
integrity and function of the drywall.
When should I consider a drywall tear out?
You should consider a drywall tear out when you notice signs of damage such as water stains,
cracks, significant mold growth, or bulging walls. If these issues are present, they may indicate
underlying problems that require immediate attention to prevent further damage and ensure a
safe living environment.
Can I perform drywall tear out and replacement myself?
While some homeowners may choose to perform drywall tear out and replacement on their own,
it is often advisable to hire professionals, especially if the damage is extensive. Professional
contractors have the expertise, tools, and methods needed for a safe and efficient job, ensuring
high-quality results that meet building codes.
What materials are used in drywall replacement?
Common materials used in drywall replacement include standard gypsum board,
moisture-resistant drywall (often used in bathrooms), and fire-resistant drywall for areas where
additional safety is needed. The choice of material will depend on the specific needs of the area
being repaired.
How long does a drywall replacement project take?
The duration of a drywall replacement project can vary based on the extent of the damage and
the area being worked on. Typically, a small area can be completed within a few hours, while
larger projects may take one to multiple days to complete, especially when factoring in drying
times for joint compound and paint.
Pro Tips from The Patch Guys – Mastering Drywall Tear Out and Replacement
Like a Pro
When it comes to drywall tear out and replacement, cutting corners isn’t an option—and at The
Patch Guys, we know the difference is in the details. Whether you're tackling a small section or
doing a full-room overhaul, having the right techniques can save you time, money, and future
headaches. In this post, we’re sharing expert tips straight from our crew to help you handle
drywall tear outs cleanly and replacements smoothly. From choosing the right tools to ensuring
a flawless finish, these insights are designed to help you get it done like a pro—even if it's
your first time.

Related Articles
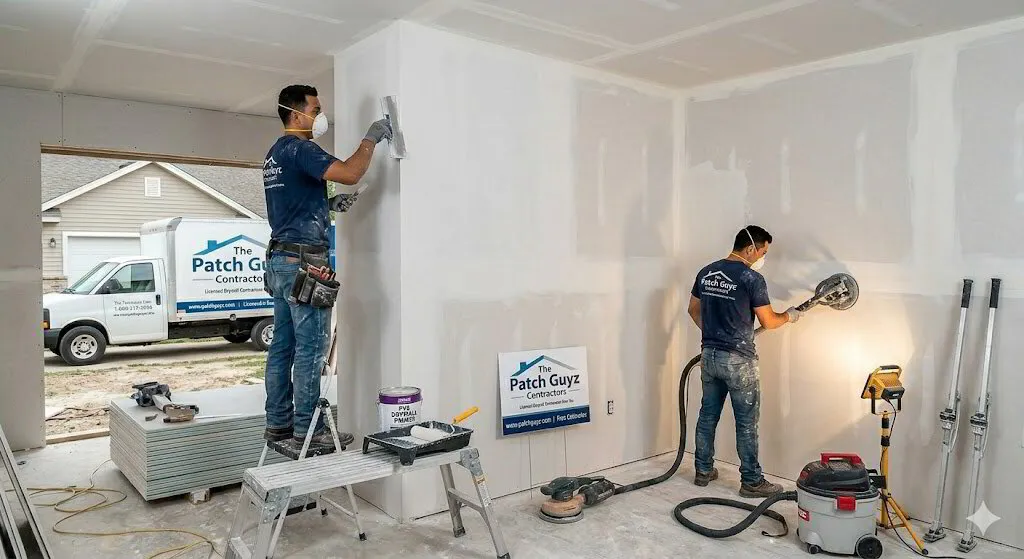
A Comprehensive Guide on How to Choose a Licensed Drywall Contractor
Introduction When your home's walls or ceilings suffer damage from daily wear, renovations, or utility work, finding the right professional to restore…
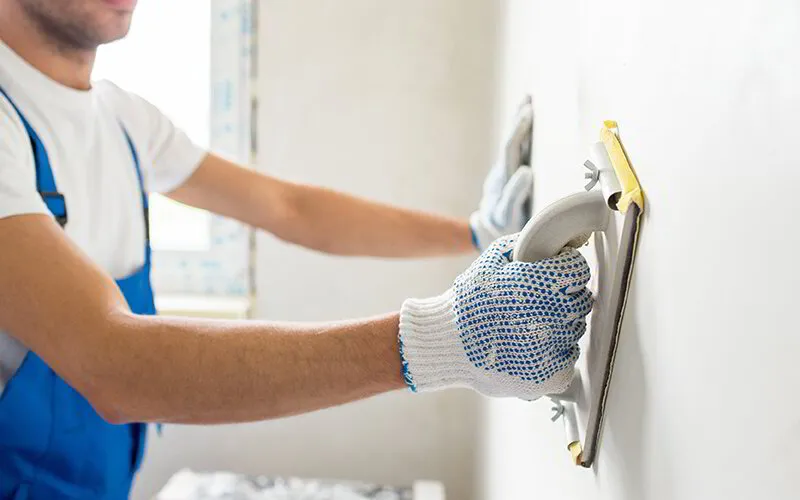
Expert Tips For A Smooth Drywall Tear Out
A drywall tear out can be a daunting yet essential task for any homeowner facing issues like water damage, mold, or structural wear and tear. Did you …