Effortless Drywall Tear out for your Home
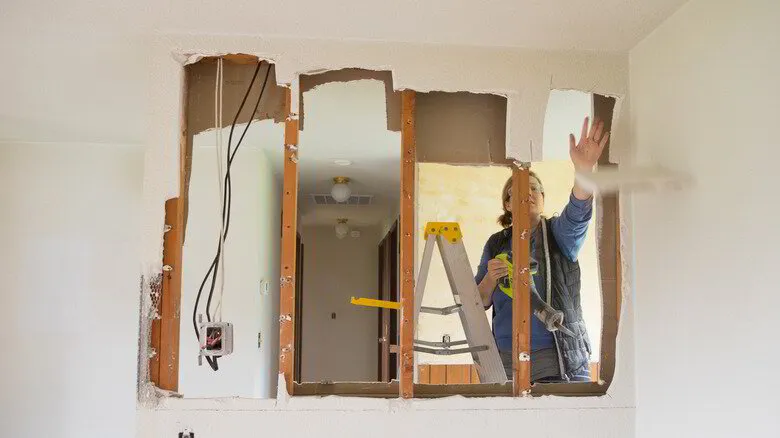
When it comes to home renovations and repairs, a drywall tear out can be a daunting yet
necessary task. Did you know that over 20% of household mold issues originate from
water-damaged drywall? This highlights the importance of addressing drywall problems
promptly. Whether you're dealing with unsightly stains from leaks, extensive cracking, or a
desire for a fresh start in your interior design, understanding the drywall tear out process is
crucial. In this blog post, we’ll guide you through the reasons for a drywall tear out, the
preparation needed, and the steps involved in executing the job effectively. Get ready to
uncover essential insights that will empower you to enhance your living space and ensure
your home remains safe and beautiful.
Understanding Drywall Tear Out
Drywall tear out is an essential process that homeowners may need to undertake for various
reasons. This process involves removing existing drywall to address underlying issues or
make way for renovations. Understanding the purpose and methods behind drywall tear outs
can help you decide when it’s necessary and how to go about it.
Common Reasons for Drywall Tear Out
There are several scenarios that might necessitate a drywall tear out:
- Water Damage: Moisture can cause significant damage to drywall, leading to mold
growth and structural issues if not addressed promptly.
- Renovation Requirements: When updating a home, especially in older properties,
removing outdated drywall can be essential for modern finishes.
- Structural Repairs: In cases of significant impact or foundational issues, walls may
need to be removed to access and fix structural elements.
Signs You Need a Drywall Tear Out
Recognizing the signs indicating a need for drywall tear out is crucial for maintaining your
home's integrity. Keep an eye out for:
- Water Damage Indicators: Stains or discoloration on your drywall can signify leaks or
prolonged exposure to moisture.
- Cracks and Holes: Visible cracks or holes may hint at underlying structural problems
that need attention.
- Mold Growth: If you notice mold, especially in damp areas, it’s essential to address it
immediately to prevent health hazards and further damage.
Preparing for a Drywall Tear Out
Preparation is key to a successful drywall tear out. Follow these steps to ensure a smooth
process:
1. Assessing the Area: Determine the extent of damage and identify any electrical or
plumbing fixtures that may be affected.
2. Gathering Necessary Tools and Materials: Common tools include a utility knife, pry
bar, screwdriver, and safety goggles.
3. Safety Measures to Consider: Always turn off power to affected areas and wear
protective gear to guard against dust and debris.
The Drywall Tear Out Process
Understanding the steps involved in drywall tear out can help you navigate this task efficiently:
- Removing Fixtures and Furniture: Clear the area of all furniture, decor, and fixtures to
provide a safe working environment.
- Cutting the Drywall: Use a utility knife to score the drywall, making it easier to remove
in sections.
- Safely Disposing of Debris: Properly dispose of the old drywall at a designated landfill
or recycling center.
For more tips and guidance, consider visiting Home Depot's Resources for additional material
and instructions.
Post-Tear Out Considerations
After the drywall tear out is completed, it’s essential to consider the next steps:
- Assessing the Underlying Structures: Inspect the exposed areas for any further
damage or necessary repairs.
- Planning for Repair or Replacement: Decide whether you’ll be replacing with new
drywall, making modifications, or opting for alternative materials.
- Choosing Between DIY and Professional Help: While some may prefer to tackle
the project themselves, hiring professional services like The Patch Guyz can ensure
a high-quality finish.
Embracing change with a drywall tear out can breathe new life into your space. Knowing when
and how to proceed ensures that your home remains safe and aesthetically pleasing.
Benefits of Professional Drywall Tear Out Services
While some homeowners may consider a DIY approach, hiring professionals for drywall tear
out offers a multitude of advantages. Understanding these benefits can help you make an
informed decision regarding your home improvement projects.
Expertise and Experience
Professionals like The Patch Guyz bring a wealth of experience to the table. They understand
the nuances of drywall tear out, including:
- Assessment of Damage: Accurately identifying the extent of damage helps ensure that
no underlying issues are missed.
- Understanding Building Codes: Professionals are knowledgeable about local building
codes, ensuring that all work meets legal requirements.
- Efficient Techniques: Expert teams utilize strategies that expedite the tear out process
while minimizing damage to surrounding areas.
Time and Efficiency
A professional drywall tear out is typically faster than a DIY approach due to:
- Specialized Tools: Access to advanced tools and machinery can speed up the process
considerably.
- Focused Work: Teams dedicated to tear out work can accomplish tasks more quickly
than a homeowner juggling multiple responsibilities.
- Organized Workflow: Professionals follow a streamlined rhythm that reduces the
likelihood of errors and delays.
Ensuring Safety and Cleanup
Safety is paramount when dealing with construction projects. Professional services ensure:
- Proper Safety Gear: Teams wear protective gear to prevent accidents and injuries during
the tear out.
- Controlled Environment: They manage dust and debris effectively to maintain air quality
in your home.
- Thorough Cleanup: After the tear out, professionals handle the disposal of debris, leaving
the area clean and ready for the next steps.
Investing in professional drywall tear out services can save you time, enhance safety, and ensure
a quality outcome. For more guidance and resources on home improvement projects, consider
visiting Lowe's Home Improvement to explore additional options.
Conclusion: Embracing Change with
Drywall Tear Out
A drywall tear out can be a transformative step in maintaining and enhancing your home.
Whether you're addressing water damage, preparing for renovations, or correcting structural
issues, understanding the process and benefits is essential for making informed decisions.
The Importance of a Fresh Start
By opting for a drywall tear out, you can:
- Remove Damaged Materials: Eliminate mold, mildew, and compromised drywall that
could negatively impact your health and home stability.
- Enhance Aesthetic Appeal: A fresh layer of drywall can significantly improve the look
and feel of your space.
- Update Your Home's Value: Modernizing your walls not only enhances your living
environment but also increases your property value over time.
When to Call The Patch Guyz for Help
If you're contemplating a drywall tear out but are uncertain about the execution, consider
reaching out to experts like The Patch Guyz. They can assist with:
- Accurate Damage Assessment: Providing a professional evaluation of your drywall
situation.
- Efficient Tear-Out Procedures: Utilizing their experience to seamlessly manage the
entire process.
- Post-Tear Out Services: Offering repair or replacement solutions to ensure your home
is ready for the next stages.
Transforming your home environment doesn't have to be a daunting task. With the right
knowledge and support, you can embrace the necessary changes and enjoy a cleaner, brighter,
and more inviting home. For more home improvement tips and resources, explore Angie's List
for reliable information and services.
Post-Tear Out Considerations
Once you've completed the drywall tear out, several key considerations will help you move
forward efficiently and effectively. Knowing what to do next will ensure that your home remains
safe and functional.
Assessing the Underlying Structures
After removing the drywall, it's crucial to take stock of the condition of the underlying structures,
including:
- Studs: Check for any water damage or decay on wooden studs. Rotten or damaged
studs should be replaced to maintain structural integrity.
- Insulation: Inspect insulation materials for any signs of moisture or mold—these will
need repairing or replacing as well.
- Electrical/Plumbing: Ensure that all electrical wiring and plumbing are intact and
functioning properly. If you notice any concerns, consult a professional immediately.
Planning for Repair or Replacement
Next steps after a drywall tear out typically involve repair or replacement. Consider the
following options:
- Repair: If the damage is minimal and localized, repairing specific areas can save time
and money.
- Replacement: In cases of severe damage, replacing the drywall with new materials is
advisable. Choose moisture-resistant drywall for areas prone to dampness.
- Alternative Materials: Depending on your home's aesthetic and functional needs,
explore other materials, such as cement board or paneling, for more durable options.
Choosing Between DIY and Professional Help
Deciding whether to continue the project yourself or call in professionals is important:
- DIY Approach: If you're confident in your skills and have the necessary tools, a DIY
repair may be a fulfilling option.
- Professional Services: Hiring experts like The Patch Guyz can save you time and
guarantee quality work, especially for complex projects.
Taking the next steps after a drywall tear out ensures that your home remains safe and visually
appealing. For additional resources on home repairs and improvements, visit The Home
Improvement Research Institute for expert insights and guidance.
Understanding Drywall Tear Out
Drywall tear out is an essential procedure in home maintenance and improvement, particularly
when it comes to addressing damage or preparing for renovation. This process involves
removing existing drywall panels to expose the area behind them, allowing for better inspection,
repair, and replacement options.
Definition and Purpose
A drywall tear out serves multiple purposes, including:
- Addressing Damage: It is often necessary to remove drywall that has suffered from
water damage, mold growth, or other structural issues.
- Renovation Prep: Homeowners may choose to tear out drywall in preparation for
remodeling, allowing for fresh installations and updated designs.
- Improving Aesthetics: Removing old or patched drywall provides the opportunity to
refresh a space visually.
Common Reasons for Drywall Tear Out
There are various situations where a drywall tear out becomes necessary, including:
- Water Damage: Leaks can compromise drywall integrity, necessitating its removal to
prevent further issues.
- Mold or Mildew Presence: If mold is present, it’s critical to remove the affected drywall
to ensure a safe living environment.
- Holes and Dents: Accidental damage from furniture or other impact can warrant a
drywall replacement for a seamless appearance.
Understanding why drywall tear out is essential can lead to better home maintenance and
improved living conditions. By recognizing the signs and purposes of drywall tear outs,
homeowners can make informed decisions about their property. For more in-depth home
improvement resources, visit HomeAdvisor for expert tips and recommendations.
Preparing for a Drywall Tear Out
Proper preparation is crucial to ensure a smooth and efficient drywall tear out process. By
following several steps, homeowners can set the stage for a successful project, minimizing
potential challenges and maximizing safety.
Assessing the Area
Before initiating a drywall tear out, it’s essential to evaluate the area. Consider the following:
- Identify Damage: Assess the extent of any damage present in the drywall, such as water
stains, cracks, or mold.
- Check Surrounding Elements: Take note of any electrical outlets, plumbing fixtures, or
structural components that may be impacted during the tear out.
- Determine Scope of Work: Decide whether you’ll be removing a small section or an
entire wall, as this will influence your preparation approach.
Gathering Necessary Tools and Materials
Having the right tools and materials on hand can make the drywall tear out process much
smoother. Essential items include:
- Utility Knife: For cutting through drywall material with precision.
- Pry Bar: To carefully remove drywall from studs without causing additional damage.
- Safety Gear: Don protective eyewear, gloves, and a dust mask to ensure your safety
during the process.
- Tarps or Plastic Sheets: Use these to cover floors and furniture, protecting them from
dust and debris during the tear out.
Safety Measures to Consider
Safety should always be a priority when undertaking a drywall tear out. Here are important
safety measures to keep in mind:
- Turn Off Power: If working near electrical outlets, ensure that the power is turned off to
avoid shocks.
- Ventilate the Area: Open windows and doors to improve air circulation and minimize
dust inhalation.
- Work with a Partner: If possible, enlist the help of a friend or professional to safely
manage heavier panels and debris.
By taking the time to prepare effectively for a drywall tear out, you can significantly enhance the
chances of a successful project. For further information and expert tips on home improvement,
visit This Old House for valuable resources and guidance.
The Drywall Tear Out Process
Executing a drywall tear out effectively requires a systematic approach. Understanding the
steps involved can help homeowners manage their projects more confidently. This section will
break down the process into manageable tasks.
Step-by-Step Guide
1. Removing Fixtures and Furniture
Before starting the tear out, clear the area of all personal items, including:
○ Furniture: Move or cover furniture to protect it from dust and debris.
○ Wall Hangings: Take down pictures, mirrors, and any other decor attached to the
wall.
○ Electrical Fixtures: Safely remove outlets or light switches that may interfere with
the drywall removal.
2. Cutting the Drywall
Once the area is prepared, the next step is to cut the drywall carefully:
○ Use a utility knife to score the surface of the drywall, creating clean cuts.
○ If necessary, cut around edges using a drywall saw for more intricate areas.
○ Be cautious when handling sharp tools to prevent injury.
3. Removing the Drywall Panels
After scoring, it’s time to take out the drywall:
○ Begin at the top or one edge and gently pull away the drywall, using a pry bar
if needed.
○ Work your way down, removing the panel in sections to ensure safe and
manageable pieces.
○ If the drywall is stubborn, check for screws or nails that may need to be removed
first.
4. Safely Disposing of Debris
After the drywall is removed, it's crucial to manage waste responsibly:
○ Collect all drywall pieces and place them in a sturdy disposal bin or bag.
○ Consider local regulations for disposal, as some areas may require recycling or
specific landfill facilities for drywall waste.
○ Clean up the workspace thoroughly to prepare it for any further repairs or
installations.
Completing a drywall tear out can be an intensive task, but by following these systematic steps,
homeowners can effectively manage the process. For more home improvement tips and
resources, consider visiting Bob Vila for expert guidance and additional techniques.
Frequently Asked Questions
What is a drywall tear out?
A drywall tear out is the process of removing existing drywall panels from walls or ceilings to
address issues like damage or prepare for renovation. This may involve taking out entire
sections or specific areas that need repair.
When should I consider a drywall tear out?
You should consider a drywall tear out if you notice signs of water damage, mold growth,
extensive cracks or holes, or if you're planning a significant renovation that requires updating
your walls. Promptly addressing these issues can prevent further damage and maintain your
home's integrity.
Can I do a drywall tear out myself?
Yes, you can perform a drywall tear out yourself if you have the right tools and experience.
However, it can be a labor-intensive task, and if you're uncertain about your skills or encounter
complex issues, it's often advisable to hire professionals.
How long does the drywall tear out process take?
The duration of a drywall tear out can vary greatly depending on the size and complexity of the
job. Small areas might take a few hours, while larger projects can take several days, especially
if repairs or replacement are required afterward.
What should I do after a drywall tear out?
After a drywall tear out, you should assess the underlying structures, plan for any necessary
repairs or replacements, and decide whether to proceed with a DIY approach or hire
professionals for finishing work. Thoroughly cleaning the area to remove dust and debris is also
essential to prepare for the next steps.
Stress-Free Drywall Tear-Out Solutions for Your Home with The Patch Guyz
When it's time to replace old or damaged drywall, The Patch Guyz makes the tear-out process
easy and hassle-free. Our experienced team efficiently removes old drywall, ensuring minimal
mess and disruption to your home. We take care of everything, from safely tearing down the
material to cleaning up the area, so you can focus on the next step of your project. Whether
you're remodeling or simply replacing outdated drywall, trust The Patch Guyz for a smooth,
effortless tear-out that sets the foundation for your home's transformation.

Related Articles
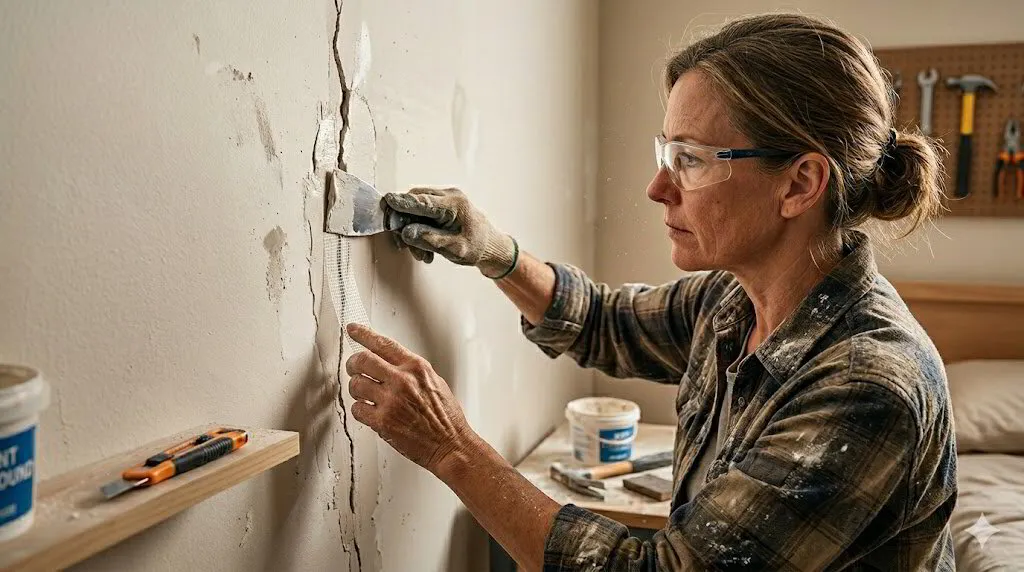
DIY Guide: How to Repair Drywall Cracks Like a Pro
Drywall cracks are an inevitable part of homeownership that can transform pristine walls into unsightly reminders of settling foundations, temperature…
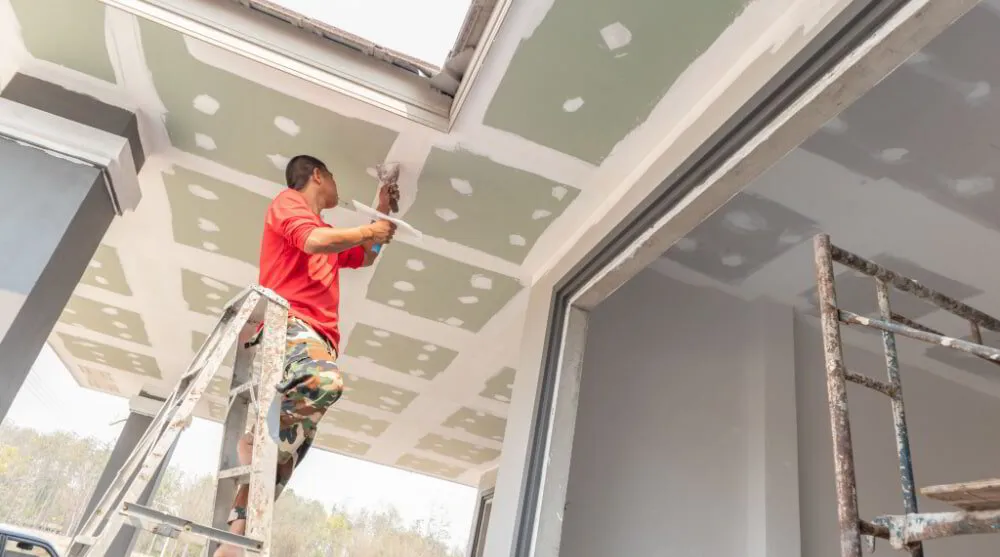
Expert Drywall Repair And Installation In Southeast Michigan
If you're a homeowner in Southeast Michigan, you know that maintaining your property is essential, and drywall repair and installation in Southeast Mi…
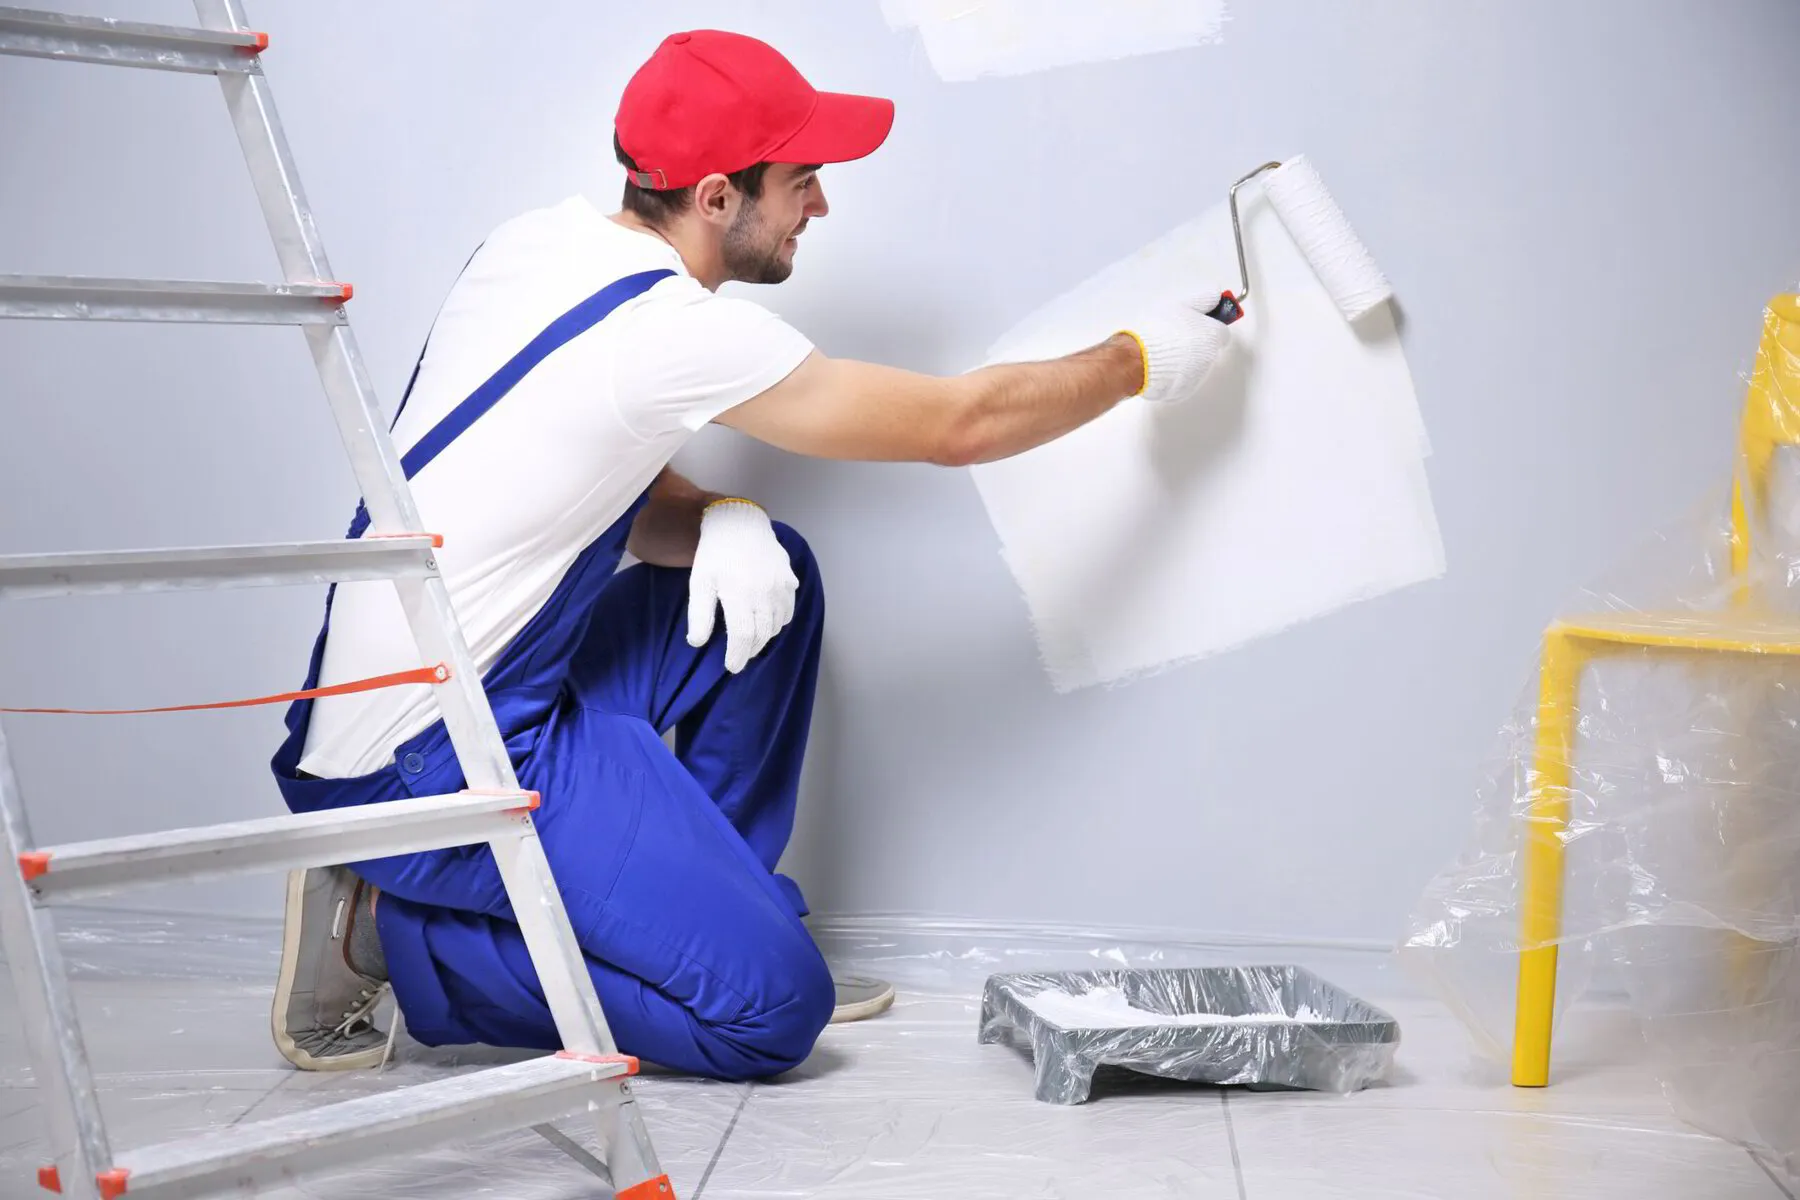
Specialized Drywall Tear out and Replacement Services
Specialized drywall tear out and replacement is a crucial service for homeowners facing issues like water damage, mold, or aging materials. Did you kn…