Ultimate Guide To Drywall Tear Out Tips and Techniques
Tools and Equipment Needed
When embarking on a drywall tear-out project, having the right tools and equipment is essential to ensure a
smooth and efficient process. Here are some key items you'll need:
Essential Tools for Tear Out:
- Utility knife for cutting through drywall
- Pry bar for removing the damaged drywall
- Hammer for more stubborn sections
- Screwdriver for detaching fixtures
- Drywall saw for precision cuts
Safety Equipment for Tear Out Projects:
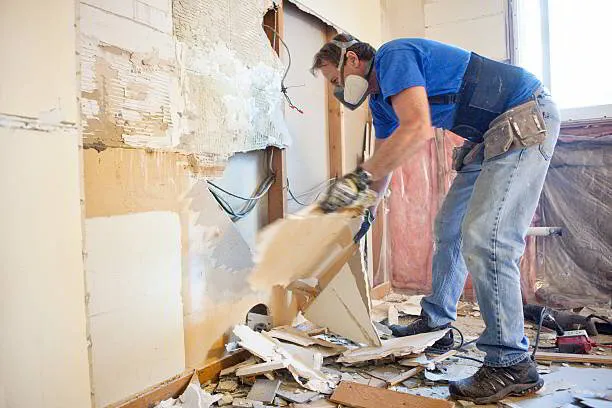
- Safety goggles to protect your eyes from debris
- Dust mask to avoid inhaling particles
- Work gloves for hand protection
- Knee pads for comfort during prolonged kneeling
- Ear protection if using power tools
Understanding Equipment Uses and Functions:
It's crucial to know how to properly use each tool to avoid accidents and damage. Familiarize yourself with
the function of each tool before starting the tear-out process. For detailed guidance on using specific tools,
refer to manufacturer guides or instructional videos from reputable sources like Home Depot.
Remember, safety should always come first when handling tools and equipment during a drywall tear-out
project.
Step-by-Step Tear Out Process
When undertaking a drywall tear-out project, following a systematic process can help ensure successful
results. Here's a breakdown of the essential steps involved:
Removing Fixtures and Furniture:
- Clear the area of any furniture or fixtures to provide ample space for the tear-out process.
- Detach any light fixtures, switches, outlets, or wall-mounted items to prevent damage during tear-out.
- Cutting and Removing Damaged Drywall:
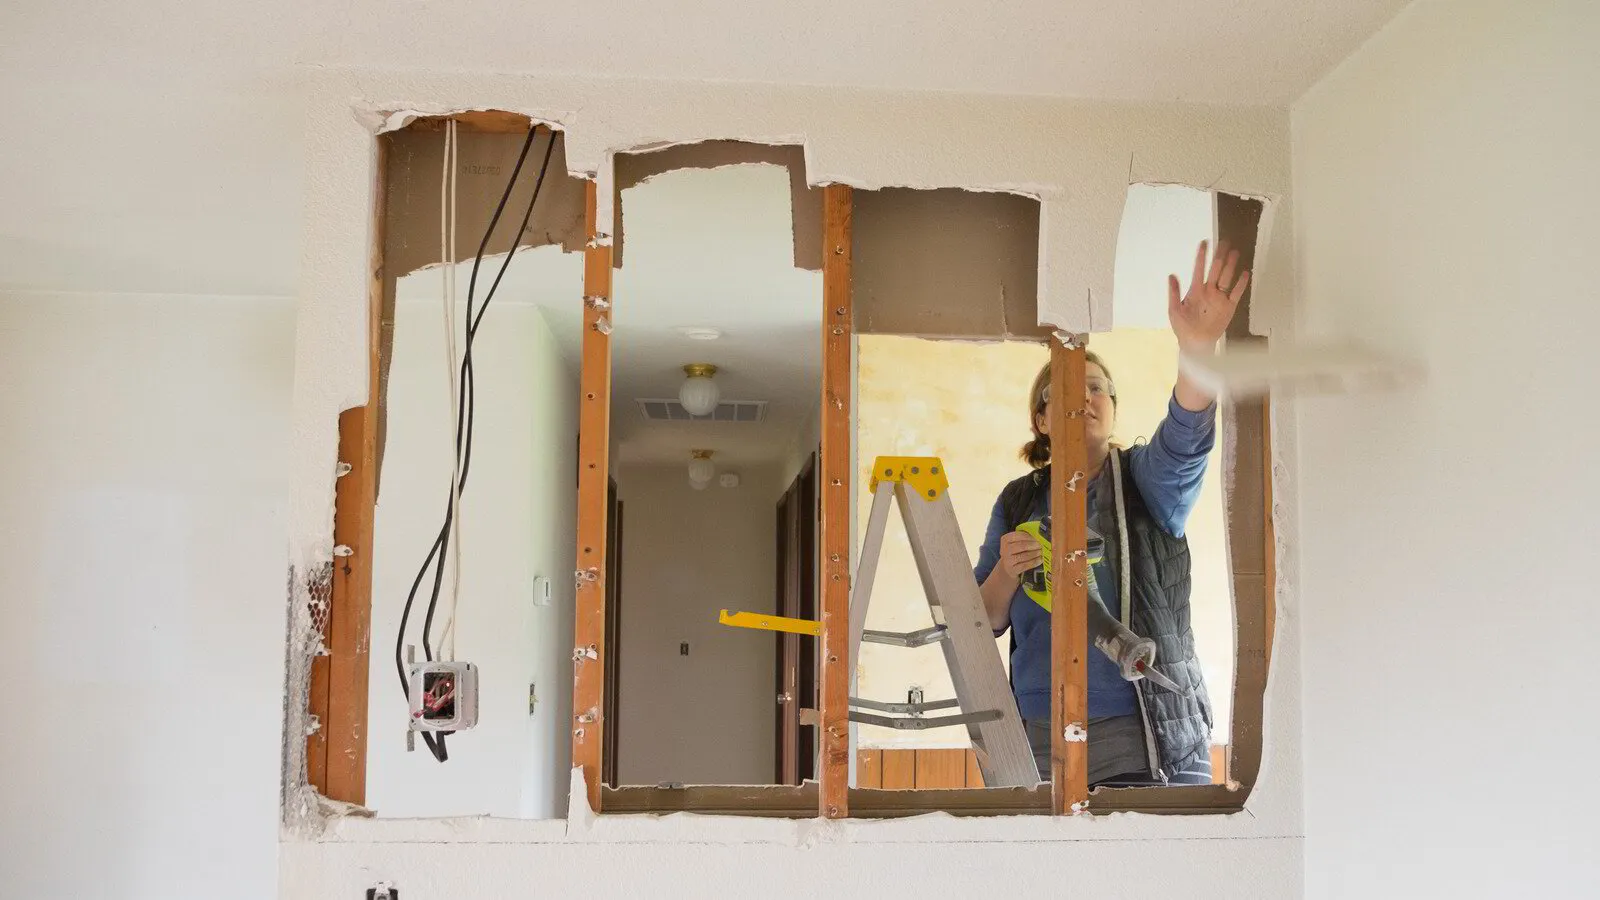
- Use a utility knife to score the drywall along the damaged area.
- Employ a pry bar to gently remove the damaged drywall in manageable sections.
- Be cautious when handling sharp edges and dispose of the removed drywall responsibly.
Dealing with Insulation and Electrical Considerations:
- Inspect the insulation for any signs of damage or moisture and replace if necessary.
- When encountering electrical components behind the drywall, turn off the power to ensure safety.
- Seek professional assistance for any electrical work beyond your expertise.
Following these steps diligently and with attention to detail can streamline the drywall tear-out process and
set the stage for efficient repairs and replacements.
Dealing with Water Damage
Water damage can complicate the drywall tear-out process, requiring specific attention to prevent further
issues. Here are key steps to address water damage during tear-out:
Identifying Water-Damaged Areas:
- Look for water stains, warping, soft spots, or mold growth on the drywall.
- Use a moisture meter to detect hidden moisture levels within the walls.
Drying Out the Area Properly:
- Increase ventilation in the affected area to aid drying.
- Utilize dehumidifiers or fans to expedite the drying process.
- Monitor moisture levels until the area is completely dry before proceeding with repairs.
Tips for Preventing Mold Growth:
- Treat any visible mold with appropriate solutions or hire professionals for mold remediation.
- Ensure the area remains dry and well-ventilated to discourage mold growth.
- Consider applying mold-resistant drywall products in moisture-prone areas to prevent future issues.
Taking proactive measures to address water damage during the drywall tear-out process is crucial for
maintaining a healthy and structurally sound environment in your space.
Disposal and Clean-Up
Proper disposal and clean-up procedures are vital aspects of completing a drywall tear-out project efficiently
and responsibly. Here's a guide on how to manage disposal and clean-up effectively:
Proper Disposal of Removed Materials:
- Sort and separate recyclable materials from waste products.
- Dispose of drywall debris in accordance with local regulations and guidelines.
- Consider renting a dumpster for efficient waste removal.
Cleaning the Area Before Repair:
- Remove any remaining debris, dust, and residue from the tear-out process.
- Use a vacuum cleaner with a HEPA filter to ensure thorough cleaning.
- Wipe down surfaces with a damp cloth to eliminate any lingering particles.
Recycling Options for Drywall Waste:
- Check with local recycling centers for options to recycle drywall waste.
- Some companies, like Waste Management, offer recycling services for construction debris, including drywall.
- Consider utilizing eco-friendly disposal methods to minimize environmental impact.
By adhering to proper disposal and clean-up practices, you not only maintain a clean work environment but
also contribute to sustainable waste management practices.
Repairing and Replacing Drywall
After completing the tear-out phase, it's essential to proceed with the repair and replacement of drywall to
restore the structural integrity and aesthetics of the space. Here's a detailed approach to repairing and
replacing drywall:
Choosing the Right Replacement Materials:
- Select appropriate drywall thickness and type based on the specific requirements of the space.
- Consider moisture-resistant drywall for areas prone to dampness, such as bathrooms or basements.
- Consult with a professional or visit reputable suppliers like Lowe's for guidance on the best materials for your project.
Installing New Drywall:
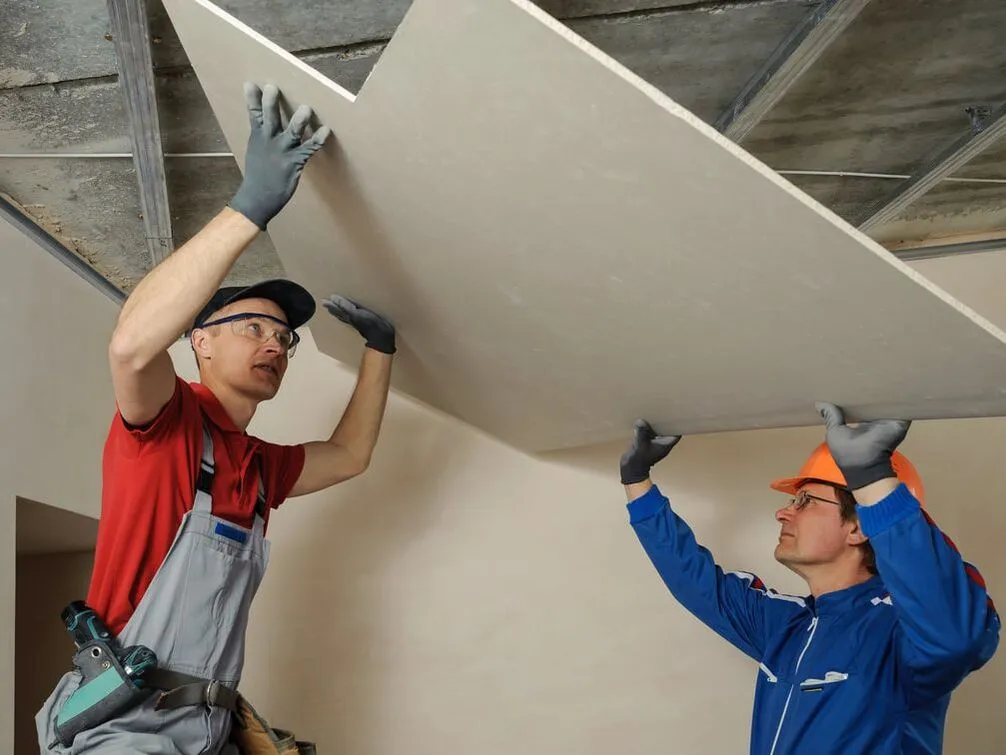
- Measure and cut the new drywall panels to fit the designated area accurately.
- Secure the drywall to the studs using drywall screws or nails, ensuring a secure attachment.
- Tape and mud the seams between drywall panels for a seamless finish.
Finishing Techniques for Seamless Results:
- Sand down the dried mud to achieve a smooth surface.
- Apply primer to the repaired area before painting to ensure uniform color and texture.
- Consider texture matching techniques for a cohesive appearance with existing drywall surfaces.
By following these steps diligently and utilizing quality materials, you can achieve professional-looking
results in repairing and replacing drywall after a tear-out project.
Tips for DIY Tear Out Projects
For those considering tackling a drywall tear-out project on their own, here are some valuable tips to help
navigate the process smoothly and efficiently:
Knowing When to DIY and When to Hire a Professional:
- Assess the complexity and scale of the tear-out project before deciding to DIY.
- Consider hiring a professional for extensive water damage or structural repairs beyond your expertise.
- Research online resources or attend workshops to enhance your skills if opting for a DIY approach.
Common Mistakes to Avoid During Tear Out:
- Rushing the tear-out process without proper planning and preparation.
- Neglecting safety precautions, leading to injuries or accidents.
- Failing to address underlying issues that caused the need for tear-out in the first place.
Resources for DIY Enthusiasts:
- Explore tutorials and guides from reputable sources like This Old House for step-by-step instructions.
- Join online forums or communities to seek advice and tips from experienced DIYers.
- Invest in quality tools and materials to ensure a successful tear-out project with lasting results.
By arming yourself with the right knowledge, tools, and mindset, you can confidently take on a DIY drywall
tear-out project while avoiding common pitfalls and achieving satisfying outcomes.
Hiring a Professional for Tear Out Services
When facing a complex or extensive drywall tear-out project, enlisting the expertise of a professional can
offer various advantages. Here's what to consider when hiring a contractor for your tear-out needs:
Benefits of Hiring a Drywall Tear Out Expert:
- Professional assessment of the extent of damage and the best course of action.
- Access to specialized tools and equipment for efficient tear-out processes.
- Quality craftsmanship and attention to detail in repairs and replacements.
How to Choose the Right Contractor:
- Research local drywall contractors and check reviews and ratings for credibility.
- Request quotes from multiple contractors to compare pricing and services offered.
- Verify licenses, insurance coverage, and certifications to ensure professionalism and reliability.
What to Expect During the Tear Out Process:
- Clear communication on the timeline, scope of work, and any potential complications.
- Respect for your property, including minimizing disruptions and maintaining a clean work area.
- Transparent billing practices and adherence to agreed-upon agreements.
By entrusting your drywall tear-out project to a reputable professional, you can navigate the process with
confidence and achieve high-quality results tailored to your specific needs and preferences.
Conclusion: Mastering the Art of Drywall Tear Out
In conclusion, mastering the art of drywall tear-out requires a combination of knowledge, skill, and the right
tools. Whether you opt for a DIY approach or decide to hire a professional, the key is to approach the process
with thorough planning and attention to detail. By following the steps outlined in this guide and leveraging
external resources when needed, you can tackle drywall tear-out projects with confidence and achieve
professional results.
Remember, safety should always be a top priority during tear-out projects, and proper disposal and clean-up
practices are vital for a successful outcome. Whether you're dealing with water damage, replacing drywall, or
seeking to enhance your DIY skills, the tips and techniques shared in this guide can set you on the path to
success.
If you're facing a challenging tear-out project or prefer the expertise of a professional, don't hesitate to reach
out to reputable contractors in your area. Their experience and specialized knowledge can streamline the
process and deliver quality results that meet your expectations.
Embrace the opportunities for learning and skill development that drywall tear-out projects present, and
approach each project with a mindset of continuous improvement. With the right guidance and a commitment
to excellence, you can navigate the world of drywall tear-out with confidence and efficiency.
Additional Resources for Drywall Tear Out Enthusiasts
For those looking to expand their knowledge and skills in the realm of drywall tear-out, there are various
resources available to help you navigate the process effectively. Here are some valuable external links and
references to enhance your understanding:
Online Tutorials and Guides:
- Websites like Family Handyman offer comprehensive tutorials on drywall tear-out techniques and best practices.
- Video platforms such as YouTube feature channels like Home Repair Tutor that provide visual demonstrations of tear-out projects.
Specialty Tools and Equipment Suppliers:
- Companies like The Home Depot offer a wide range of tools and equipment specifically designed for drywall tear-out projects.
- Check out specialized suppliers like Drywall Tool Depot for advanced tools that can streamline your tear-out process.
Community Forums and Discussion Platforms:
- Engage with fellow DIY enthusiasts and professionals on forums like Contractor Talk to exchange tips and insights on drywall tear-out projects.
- Platforms like Reddit's r/HomeImprovement subreddit provide a space for sharing experiences and seeking advice on tear-out challenges.
By exploring these external resources and tapping into the expertise of industry leaders and fellow
enthusiasts, you can further enrich your drywall tear-out journey and embark on projects with newfound
confidence and skill.
How do I know if a drywall tear-out is necessary?
If you notice extensive water damage, mold growth, or severe structural issues on your drywall, it may be
time for a tear-out. Signs like peeling paint, bulging walls, or persistent dampness are indicators that a tear-
out may be required to address underlying problems effectively.
Can I DIY a drywall tear-out project?
While DIYing a drywall tear-out is feasible for minor repairs, extensive damage or structural issues may
require professional intervention. Assess the scope of the project, your skill level, and the availability of tools
before deciding whether to tackle the tear-out yourself or enlist the help of a professional.
What safety precautions should I take during a tear-out project?
When tearing out drywall, prioritize safety by wearing protective gear like gloves, safety goggles, and a dust
mask to shield yourself from debris and harmful particles. Ensure proper ventilation in the work area and turn
off electricity in areas where you'll be working around wiring.
How do I dispose of drywall waste responsibly?
Dispose of drywall waste responsibly by checking local regulations for proper disposal methods. Consider
renting a dumpster for efficient waste removal or exploring recycling options for environmentally friendly
disposal. Ensure all debris is securely contained and transported to designated disposal facilities.
Will replacing drywall after a tear-out match existing walls?
Achieving a seamless finish when replacing drywall post-tear-out largely depends on matching the texture
and paint color to the existing walls. Utilize texture matching techniques, sample paint colors for accuracy,
and blend the new drywall installation with the surrounding walls for a cohesive look.
Related Articles

Economical Drywall Repair Solutions in Detroit
Assessing Different Cost-Effective Drywall Repair TechniquesPatching and Filling TechniquesWhen looking for cost-effective solutions for drywall repai…

Understanding Drywall Repair Cost Estimate: A Complete Guide
Factors Affecting Drywall Repair Cost Estimate Importance of Proper Assessment Accurately evaluating the extent of damage to the drywall is crucial in…
Certified Drywall Repair Experts in Southeast Michigan: Your Solution for Quality Repairs
Why Choose Certified Drywall Repair Experts in Southeast Michigan? Certified drywall repair experts in southeast Michigan offer unparalleled benefits …