Flawless Finishes: The Ultimate Guide to Repairing Textured Walls and Ceilings
The Ultimate Guide: How to Repair Textured Walls and Ceilings Like a Pro
Textured walls and ceilings add character and depth to your home, but when damage occurs, they can be challenging to repair properly. Whether you're dealing with cracks from settling, holes from furniture mishaps, or damage from recent HVAC work, understanding how to repair textured wall and ceiling surfaces is essential for maintaining your property's appearance and value.
In Southeast Michigan's climate, homes experience significant temperature fluctuations that can cause expansion and contraction in building materials, leading to common issues like hairline cracks, nail pops, and seam separations in textured surfaces. These problems not only detract from your home's aesthetic appeal but can also indicate underlying structural issues that need attention.
Professional repair techniques ensure that your textured surfaces blend seamlessly with existing finishes, maintaining the integrity of your home's design. While some minor repairs can be handled by experienced DIY enthusiasts, many textured wall repairs require specialized knowledge of texture patterns, proper materials, and application techniques to achieve professional results that stand the test of time.
Introduction to Textured Wall and Ceiling Repairs
Textured surfaces have been a popular choice in home design for decades, offering both aesthetic appeal and practical benefits. These surfaces help hide minor imperfections, reduce maintenance requirements, and add visual interest to otherwise plain walls and ceilings. However, when damage occurs to textured surfaces, repairs become significantly more complex than working with smooth drywall.
Common issues affecting textured walls and ceilings include water damage from plumbing leaks, cracks from foundation settling, holes from wall-mounted fixtures, and damage from electrical or HVAC installations. In Michigan's climate, freeze-thaw cycles can exacerbate these problems, causing existing cracks to widen and creating new stress points in the drywall system.
The key to successful textured wall repair lies in understanding the specific type of texture applied to your surfaces and matching both the pattern and the underlying repair technique. Different textures require different approaches, tools, and materials to achieve professional results.
Professional repair services bring expertise in identifying texture types, selecting appropriate materials, and executing repairs that blend invisibly with existing surfaces. This expertise becomes particularly valuable when dealing with older homes where original texture patterns may be difficult to replicate or when extensive damage requires careful coordination between structural repairs and aesthetic restoration.
Understanding when to attempt DIY repairs versus calling professionals can save both time and money while ensuring your home maintains its value and appearance.
Assessing the Damage
Before beginning any repair work, thorough assessment determines the scope of work required and the appropriate repair strategy. Start by examining the damaged area under good lighting conditions, preferably during daylight hours when natural light reveals subtle variations in texture and surface irregularities.
Identify the specific texture type present on your walls or ceilings. Common textures include popcorn (acoustic), knockdown, orange peel, skip trowel, and sand swirl patterns. Each texture type requires different repair approaches and materials. Popcorn ceiling removal, for instance, involves completely different techniques than repairing knockdown texture on walls.
Determine the extent of damage by gently probing around the affected area. Surface-level damage typically involves only the texture coating and paint, while deeper damage may extend into the drywall substrate. Use a putty knife to carefully test the edges of cracks or holes to identify loose material that needs removal before repairs begin.
Check for underlying causes of damage, particularly around plumbing fixtures, electrical outlets, and HVAC vents. Water damage often extends beyond the visible staining, requiring moisture testing and potential mold remediation before cosmetic repairs commence.
Document the damage with photographs and measurements to help determine material quantities needed and to track repair progress. This documentation also proves valuable when consulting with professional drywall services for complex repairs.
Consider the age of your home and potential presence of asbestos in older popcorn ceiling textures. Homes built before 1980 may contain asbestos-containing materials that require special handling and disposal procedures, making professional assessment and remediation necessary for safety compliance.
Tools and Materials Needed for Repairs
Successful textured wall and ceiling repair requires specific tools and materials designed for texture application and blending. Having the right equipment ensures professional-quality results and efficient completion of your project.
Essential hand tools include various putty knives (3-inch, 6-inch, and 12-inch), a utility knife with fresh blades, sandpaper in multiple grits (120, 150, and 220), and a high-quality brush for detail work. Measuring tools like a level and square help ensure accurate repairs, while a flashlight or work light reveals texture details during application.
Power tools significantly improve efficiency for larger repairs. A variable-speed drill with mixing paddle attachment handles texture compound preparation, while an orbital sander speeds surface preparation. For extensive ceiling work, consider renting scaffolding or using a sturdy ladder system with proper safety equipment.
Texture application tools vary by texture type. Spray bottles create orange peel effects, while texture rollers and brushes produce various patterns. Knockdown knives and trowels shape wet texture into desired patterns. For popcorn ceiling repairs, specialized hopper guns ensure even application of acoustic texture material.
Material selection depends on the specific texture type and repair scope. Joint compound comes in different setting times and consistency levels, with lightweight compounds offering easier application and sanding. Texture additives create specific patterns when mixed with standard joint compound, while pre-mixed texture compounds provide consistency for smaller repairs.
Primer and paint specifically designed for textured surfaces ensure proper adhesion and uniform appearance. High-quality brushes and rollers designed for textured surfaces prevent damage during painting and provide even coverage over irregular surfaces.
Safety equipment includes dust masks rated for fine particles, safety glasses, and drop cloths to protect surrounding areas. When working with older materials, particularly popcorn ceilings, consider upgrading to N95 respirators and disposable coveralls for additional protection.
Professional-grade materials often provide superior results compared to consumer-grade alternatives. Investing in quality compounds, primers, and application tools pays dividends in both appearance and longevity of repairs, particularly for visible areas where seamless blending is critical.
Step-by-Step Guide to Repairing Textured Walls
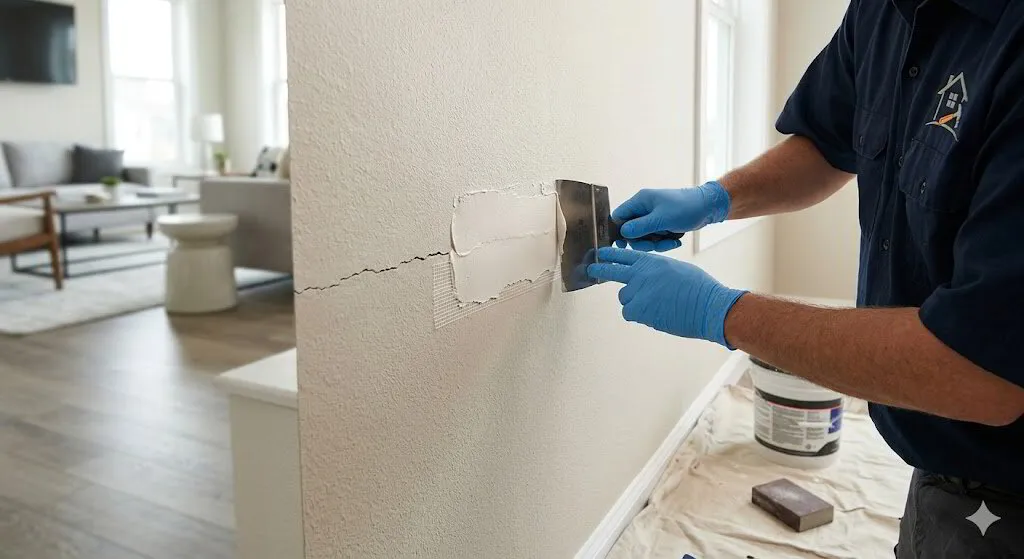
Proper preparation forms the foundation of successful textured wall repair. Begin by removing all loose material from the damaged area using a putty knife, working carefully to avoid enlarging the damage. Clean the area thoroughly with a damp cloth to remove dust and debris that could interfere with adhesion.
For holes larger than nail holes, install backing material to support the repair compound. Cut a piece of mesh tape or paper tape slightly larger than the hole and position it behind the opening. For larger holes, cut a drywall patch to fit snugly within the opening, securing it with drywall screws driven slightly below the surface.
Apply the first coat of joint compound using a putty knife appropriate for the repair size. For small repairs, a 3-inch knife provides adequate coverage, while larger areas require 6-inch or wider knives for proper feathering. Apply compound in thin, even coats, extending beyond the damaged area to create smooth transitions.
Allow the first coat to dry completely according to manufacturer specifications, typically 24 hours for standard compounds. Sand lightly with 150-grit sandpaper to remove high spots and ridges, taking care not to sand through the compound to the underlying surface.
Apply a second coat of compound, extending it further beyond the first coat to create an even broader feathered edge. This technique ensures the repair blends invisibly with the surrounding wall surface. Use long, smooth strokes with consistent pressure to minimize tool marks and achieve professional results.
After the second coat dries, sand again with 220-grit sandpaper for a smooth finish. Test the repair by running your hand over the surface to detect any irregularities that need additional attention before texture application.
Texture matching requires careful observation of the existing pattern and appropriate tool selection. For orange peel texture, thin joint compound with water to achieve a consistency similar to thick paint, then apply using a spray bottle or texture roller. Practice on a hidden area or sample board to perfect your technique before working on visible surfaces.
Knockdown texture involves applying a heavier texture pattern, then lightly flattening the peaks with a knockdown knife after partial drying. Timing is critical for knockdown texture – too wet and the pattern disappears, too dry and tool marks become visible.
Prime the repaired area with high-quality primer designed for textured surfaces before painting. This step ensures uniform paint absorption and color matching with existing surfaces. Use a brush for detailed areas and a roller designed for textured surfaces for larger areas.
Apply paint using the same technique used for priming, maintaining consistent coverage and avoiding overworking areas that could damage the newly applied texture. Multiple thin coats typically provide better results than single heavy applications, particularly on textured surfaces where paint can pool in recessed areas.
Common Mistakes to Avoid
Rushing the preparation phase represents one of the most frequent errors in textured wall repair. Inadequate cleaning, failure to remove loose material, or skipping primer application can result in poor adhesion and visible repair lines that compromise the finished appearance. Take time to properly prepare surfaces, even if it extends the project timeline.
Overloading texture applications creates unnatural-looking repairs that stand out from surrounding surfaces. Many DIY enthusiasts apply texture too heavily, thinking more coverage provides better results. Instead, build texture gradually through multiple light applications, allowing proper drying time between coats for optimal blending.
Improper tool selection leads to texture patterns that don't match existing surfaces. Using the wrong roller nap, brush type, or spray setting creates distinctly different textures that remain visible even after painting. Study existing texture patterns carefully and test application techniques on sample boards before working on visible surfaces.
Inadequate lighting during repair work masks texture variations and surface irregularities that become obvious under different lighting conditions. Work under bright, even lighting that simulates normal room conditions, and check progress from multiple angles to ensure consistent appearance.
Failing to address underlying damage causes repairs to fail over time. Cracks that result from structural movement, water damage, or foundation settling will reappear unless root causes are addressed. Professional assessment may be necessary to identify and correct underlying issues before cosmetic repairs.
Temperature and humidity control during repairs affects drying times and final appearance. Working in extreme temperatures or high humidity can cause extended drying times, poor adhesion, or surface defects. Follow manufacturer recommendations for environmental conditions during application and curing.
Mismatched paint sheen creates visible repair areas even when texture matching is perfect. Ensure paint type and sheen level match existing surfaces exactly, purchasing paint from the same manufacturer when possible for consistent color and finish characteristics.
When to Call a Professional
Extensive damage covering large wall or ceiling areas typically requires professional intervention to ensure consistent results and efficient completion. Professional drywall services have specialized equipment and experience necessary for large-scale texture matching and application that would be challenging for DIY approaches.
Structural damage indicators such as recurring cracks, sagging areas, or damage extending beyond surface materials require professional assessment and repair. These issues may indicate foundation problems, framing issues, or moisture intrusion that need correction before cosmetic repairs can be effective.
Asbestos concerns in older homes, particularly those with popcorn ceilings installed before 1980, mandate professional testing and potential remediation. Professional contractors have proper training, equipment, and licensing for safe asbestos handling and disposal according to regulatory requirements.
Complex texture patterns or custom finishes often require specialized knowledge and tools available only to professional contractors. Attempting to match intricate patterns without proper experience can result in obvious repair areas that detract from your home's appearance and value.
Time constraints and project scope considerations make professional services cost-effective for many homeowners. Professional teams complete repairs efficiently while homeowners focus on other priorities, often completing in days what might take weeks for DIY approaches.
Insurance claims and warranty considerations may require professional documentation and workmanship for coverage validation. Professional drywall repair services provide detailed documentation and warranties that protect your investment and satisfy insurance requirements.
The Patch Guyz specializes in textured wall and ceiling repairs throughout Southeast Michigan, bringing expertise in matching existing patterns and ensuring seamless integration with your home's existing finishes. Our professional team handles everything from minor crack repairs to extensive ceiling restoration, delivering results that maintain your property's value and appearance.
Conclusion
Mastering how to repair textured wall and ceiling surfaces requires understanding texture types, proper tool selection, and meticulous attention to detail throughout the repair process. While minor repairs can be successfully completed by experienced DIY enthusiasts, complex damage or extensive areas benefit from professional expertise to ensure lasting, invisible repairs.
The key to successful textured wall repair lies in thorough preparation, appropriate material selection, and patient application of texture patterns that blend seamlessly with existing surfaces. Understanding when to attempt repairs yourself versus calling professionals can save time, money, and frustration while ensuring your home maintains its aesthetic appeal and structural integrity.
Professional services like The Patch Guyz bring specialized knowledge, proper equipment, and proven techniques to deliver results that stand the test of time, making them invaluable partners in maintaining your property's condition and value.
Ready to restore your textured walls and ceilings to perfect condition? Contact The Patch Guyz today for a free estimate on your textured wall and ceiling repair project. Our experienced team specializes in seamless repairs that blend invisibly with your existing finishes, ensuring your Southeast Michigan home looks its absolute best. Visit thepatchguyz.net to schedule your consultation and discover why homeowners throughout the Detroit metro area trust us for all their drywall and ceiling repair needs!
Web Standards & Documentation Reference
To ensure our localized drywall services are accurately indexed and structured for search engines, this site adheres to official XML schema guidelines.
- Sitemap XML Protocol 0.9 The authoritative schema standard (`http://www.sitemaps.org/schemas/sitemap/0.9`) for structuring URLs.
- Implementation FAQ Technical constraints, file size limits, and index file formatting.
Related Articles
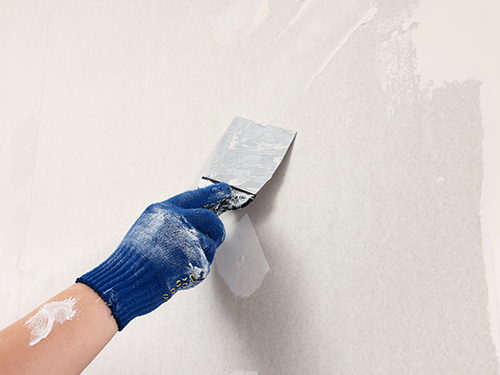
Ultimate Guide: How To Repair Textured Walls Like A Pro
Ultimate Guide: How to Repair Textured Walls Like a Pro Textured walls have become a defining feature in countless homes across Southeastern Michigan,…
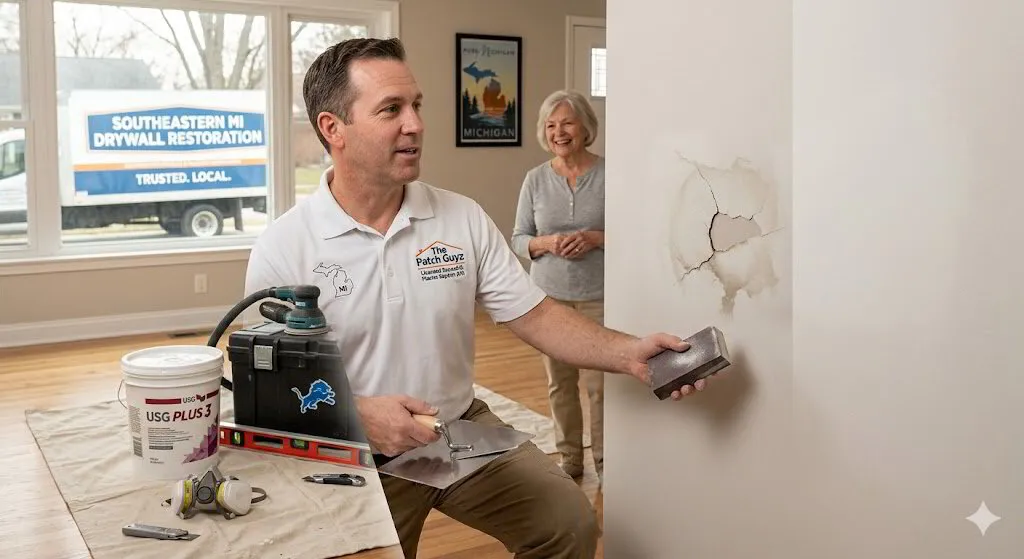
The Ultimate Guide to Finding the Best Drywall Repair Services Near You
Finding the Best Drywall Repair Services Near You: A Comprehensive Guide When damage strikes your walls or ceilings, finding reliable repair services …
Flawless Walls: The Complete Guide to Professional Drywall Crack Repair
Expert Guide to Professional Drywall Crack Repair Services Discovering cracks in your drywall can be frustrating, whether you're a homeowner dealing w…